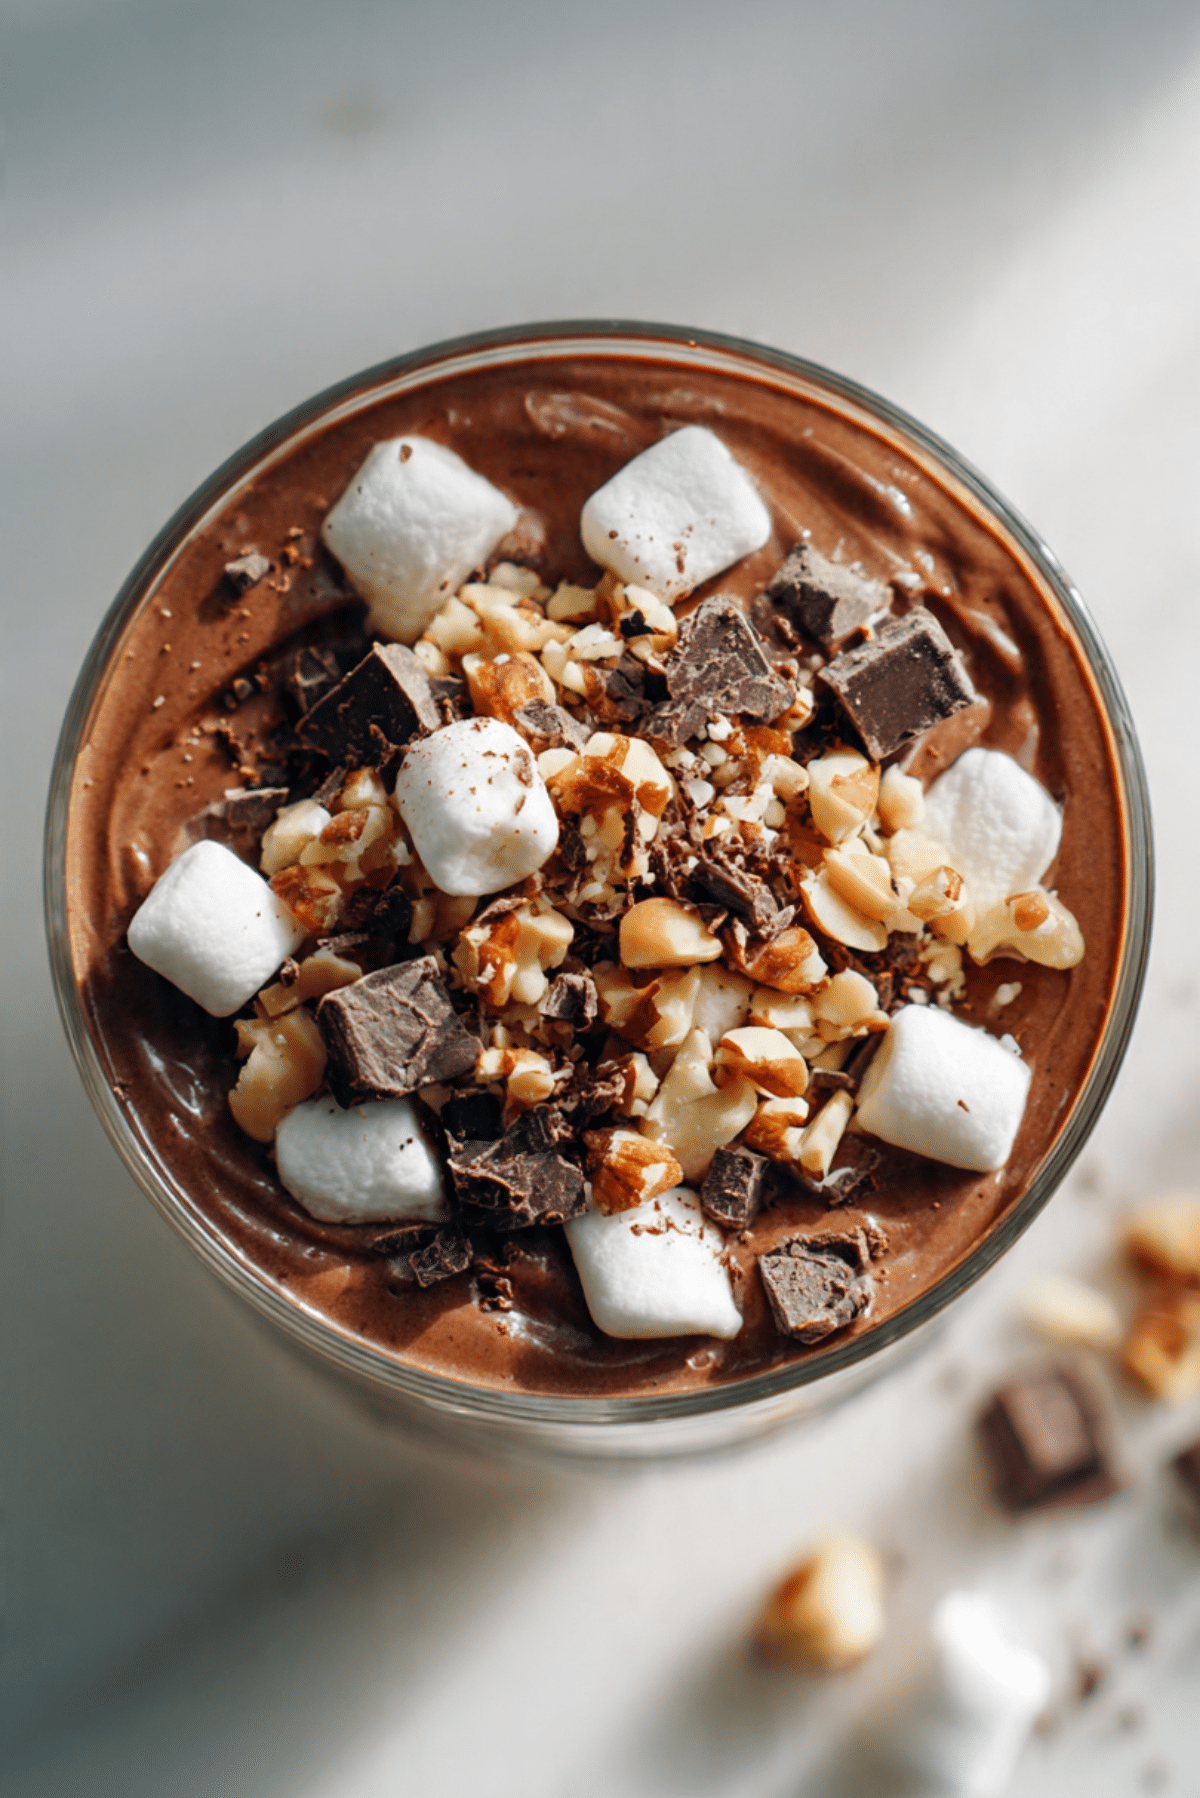
Rocky Road Pudding
There is something instantly comforting about digging into a chilled bowl of chocolate pudding, especially when it is loaded with soft marshmallows and crunchy bits that surprise you in every bite. This dessert feels nostalgic and playful, like something you would make on a lazy afternoon when all you want is a little sweetness and zero stress. Trust me, you’re going to love this, it is rich, creamy, and unapologetically fun from the first spoonful to the last.
Why This Dessert Always Hits the Sweet Spot
What makes this pudding so special is how it balances indulgence with simplicity. It feels cozy and familiar, yet it still manages to look impressive once it is served. The chocolate base is smooth and deep in flavor, while the toppings bring texture and personality, making every bite feel exciting and satisfying.
A Little Background and Fun Trivia
This dessert takes inspiration from the classic rocky road flavor combination that became popular in the early twentieth century. Traditionally known for mixing chocolate, marshmallows, and nuts, the idea was all about contrast and comfort. Over time, that flavor combination found its way into ice creams, bars, and eventually creamy desserts like this one, which keeps the spirit but adds a spoonable twist.
Reasons You’ll Keep Coming Back to This Recipe
Before we move forward, let me tell you why this one’s a total game-changer and why it earns a permanent spot in your dessert rotation.
Versatile: It works as a casual weeknight treat or a make-ahead dessert for gatherings, and it always feels right.
Budget-Friendly: Simple pantry staples come together to create something that tastes far more luxurious than it costs.
Quick and Easy: The process is straightforward, with no complicated techniques or special equipment required.
Customizable: You can adjust the toppings to match your mood or what you have on hand without losing the magic.
Crowd-Pleasing: Kids love it, adults love it, and it disappears fast at the table.
Make-Ahead Friendly: It sets beautifully in the fridge, which makes planning ahead effortless.
Great for Leftovers: The texture stays creamy even after chilling, so it is just as good the next day.
Pro Tips From the Kitchen
Now let’s dive a little deeper and talk about a few insider tricks that make this pudding truly shine.
- Let the pudding cool slightly before adding toppings so they sit nicely on top.
- Stir constantly while cooking to avoid any lumps and keep the texture silky.
- Use good quality cocoa powder for a deeper chocolate flavor that really stands out.
- Chill the pudding long enough so it sets properly, patience pays off here.
Kitchen Tools You Will Need
Before getting started, it helps to have everything ready, which makes the whole process feel relaxed and enjoyable.
Medium Saucepan: This is where the pudding base comes together smoothly.
Whisk: Essential for keeping the mixture lump-free and creamy.
Mixing Bowl: Useful for prepping and combining ingredients before cooking.
Serving Bowls or Glasses: Clear ones are great if you want to show off the layers and toppings.
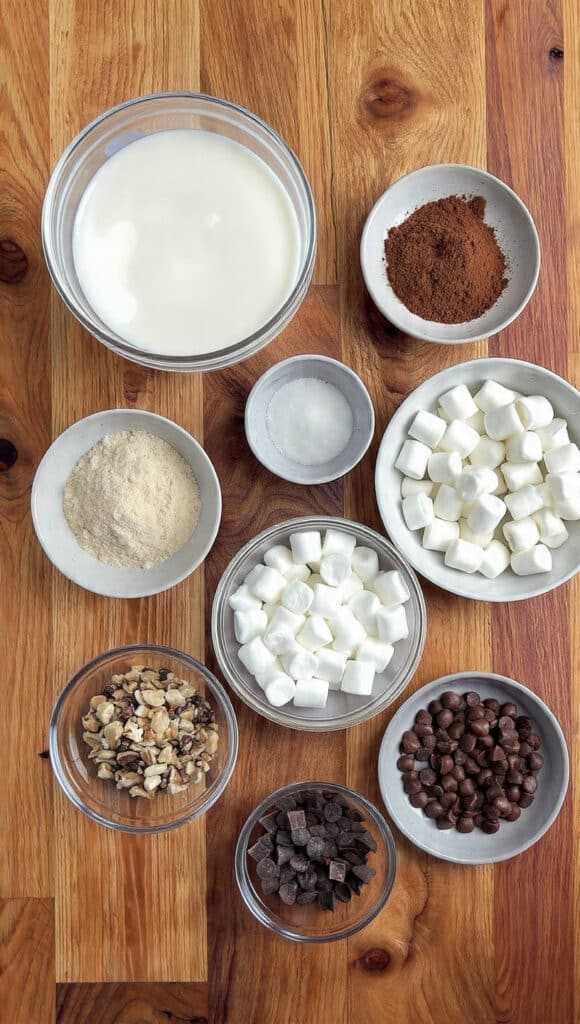
Ingredients You Will Need For This Pudding
Now that the tools are ready, let’s talk about the ingredients and how each one plays its part in creating that classic rocky road feel.
- Whole Milk: 2 cups, this forms the creamy base and gives the pudding its smooth body.
- Granulated Sugar: 1 half cup, it sweetens the pudding without overpowering the chocolate.
- Unsweetened Cocoa Powder: 1 third cup, this provides the deep chocolate flavor.
- Cornstarch: 3 tablespoons, it thickens the pudding to that perfect spoonable consistency.
- Salt: 1 quarter teaspoon, it balances the sweetness and enhances the chocolate.
- Vanilla Extract: 1 teaspoon, it rounds out the flavors and adds warmth.
- Mini Marshmallows: 1 cup, these add softness and that signature rocky road texture.
- Chopped Nuts: 1 half cup, traditionally almonds or walnuts, for crunch and contrast.
- Chocolate Chips: 1 half cup, they melt slightly and add extra chocolate richness.
Easy Ingredient Swaps You Can Try
If you like to adapt recipes to what you have, these substitutions work beautifully.
Whole Milk: Use low fat milk for a lighter version.
Chopped Nuts: Swap with pecans or skip entirely for a nut-free option.
Chocolate Chips: Dark or semi sweet both work depending on your taste.
Spotlight on Key Ingredients
Some ingredients truly define the personality of this dessert, so let’s give them a moment.
Unsweetened Cocoa Powder: This is the backbone of the flavor, delivering that deep, chocolatey richness.
Mini Marshmallows: They bring softness and a playful bite that makes each spoonful feel nostalgic.
Let’s Get Cooking Together
And now let’s dive into the heart of the process, where everything comes together in a smooth, satisfying rhythm.
- Preheat Your Equipment: Set a medium saucepan on the stove over medium heat and have your whisk ready.
- Combine Ingredients: In a mixing bowl, whisk together sugar, cocoa powder, cornstarch, and salt until well blended.
- Prepare Your Cooking Vessel: Pour the milk into the saucepan and slowly whisk in the dry mixture.
- Assemble the Dish: Cook while whisking constantly until the mixture thickens and coats the back of a spoon.
- Cook to Perfection: Once thick, remove from heat and stir in vanilla extract until smooth.
- Finishing Touches: Pour the pudding into serving bowls and sprinkle marshmallows, nuts, and chocolate chips on top.
- Serve and Enjoy: Chill in the refrigerator for at least one hour, then serve cold.
Texture and Flavor Magic
The real beauty of this pudding is the contrast. The base is smooth and creamy, while the toppings bring chewiness and crunch. As it chills, the flavors meld together, creating a dessert that feels rich but balanced, sweet but not overwhelming.
Helpful Tips for Best Results
A few extra pointers can make all the difference.
- Stir constantly to prevent scorching.
- Taste the pudding before chilling and adjust sweetness if needed.
- Add toppings just before chilling for the best texture.
Common Mistakes to Avoid
Even simple recipes have little pitfalls, so here is what to watch out for.
- Overheating the pudding, which can make it too thick.
- Skipping the salt, which dulls the chocolate flavor.
- Not chilling long enough, which affects the final texture.
Nutrition Snapshot
Servings: 4
Calories per serving: 320
Note: These are approximate values.
Time Breakdown
Prep Time: 10 minutes
Cook Time: 15 minutes
Total Time: 25 minutes
Make-Ahead and Storage Tips
This pudding is perfect for preparing in advance. Store it covered in the refrigerator for up to three days. It does not freeze well due to the creamy base, but it reheats gently on the stove if you prefer it warm.
Serving Ideas to Elevate It
Serve with a dollop of whipped cream or a sprinkle of extra nuts for added flair. It also pairs beautifully with fresh berries on the side.
Creative Ways to Use Leftovers
Leftover pudding makes a great filling for dessert cups layered with cookies or used as a topping for pancakes or waffles.
Extra Tips for Success
Use a heavy bottom saucepan to prevent scorching and always whisk slowly but steadily for the smoothest result.
Make It Look Like a Showstopper
Serve in clear glasses, layer the toppings neatly, and finish with a light dusting of cocoa powder for a polished look.
Fun Variations to Try
- Add peanut butter swirls for extra richness.
- Use toasted coconut instead of nuts.
- Mix in crushed cookies for added crunch.
- Top with fresh fruit for contrast.
FAQ’s
1. Can I make this dairy-free?
Yes, use a plant-based milk that thickens well, like almond or oat milk.
2. Does it need to be chilled?
Chilling helps the pudding set and improves texture.
3. Can I skip the nuts?
Absolutely, it will still taste great without them.
4. How long does it last in the fridge?
Up to three days when properly covered.
5. Can I serve it warm?
Yes, it is delicious warm, though the texture will be softer.
6. What cocoa powder works best?
Unsweetened cocoa powder gives the best balance.
7. Can I double the recipe?
Yes, just use a larger saucepan and stir well.
8. Will the marshmallows melt completely?
They soften but keep their shape when chilled.
9. Is this good for parties?
Definitely, it is easy to serve and always popular.
10. Can kids help make this?
Yes, it is a great recipe for supervised kitchen fun.
Conclusion
This pudding is proof that simple ingredients can create something truly special. Let me tell you, it’s worth every bite, and once you try it, you will find yourself coming back to it again and again for that perfect mix of comfort and indulgence.
Print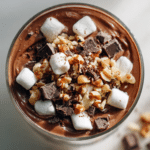
Rocky Road Pudding
- Prep Time: 10 minutes
- Cook Time: 15 minutes
- Total Time: 25 minutes
- Yield: 4 servings 1x
- Category: Dessert
- Method: Stovetop
- Cuisine: American
- Diet: Vegetarian
Description
A creamy chocolate pudding loaded with soft marshmallows, crunchy nuts, and melty chocolate chips, inspired by the classic rocky road flavor combination.
Ingredients
- 2 cups whole milk
- 1/2 cup granulated sugar
- 1/3 cup unsweetened cocoa powder
- 3 tablespoons cornstarch
- 1/4 teaspoon salt
- 1 teaspoon vanilla extract
- 1 cup mini marshmallows
- 1/2 cup chopped nuts (almonds or walnuts)
- 1/2 cup chocolate chips
Instructions
- In a mixing bowl, whisk together the granulated sugar, cocoa powder, cornstarch, and salt until fully combined.
- Pour the milk into a medium saucepan and slowly whisk in the dry mixture.
- Place the saucepan over medium heat and cook, whisking constantly, until the mixture thickens and coats the back of a spoon.
- Remove the saucepan from the heat and stir in the vanilla extract until smooth.
- Pour the pudding evenly into serving bowls.
- Top with mini marshmallows, chopped nuts, and chocolate chips.
- Refrigerate for at least 1 hour until set, then serve chilled.
Notes
- Stir constantly while cooking to prevent lumps.
- For a nut-free version, simply omit the nuts.
- Chill longer for a firmer texture.
Nutrition
- Serving Size: 1 bowl
- Calories: 320
- Sugar: 32g
- Sodium: 210mg
- Fat: 14g
- Saturated Fat: 7g
- Unsaturated Fat: 6g
- Trans Fat: 0g
- Carbohydrates: 46g
- Fiber: 4g
- Protein: 7g
- Cholesterol: 25mg
Keywords: chocolate pudding, rocky road dessert, easy pudding recipe, no bake dessert, creamy chocolate