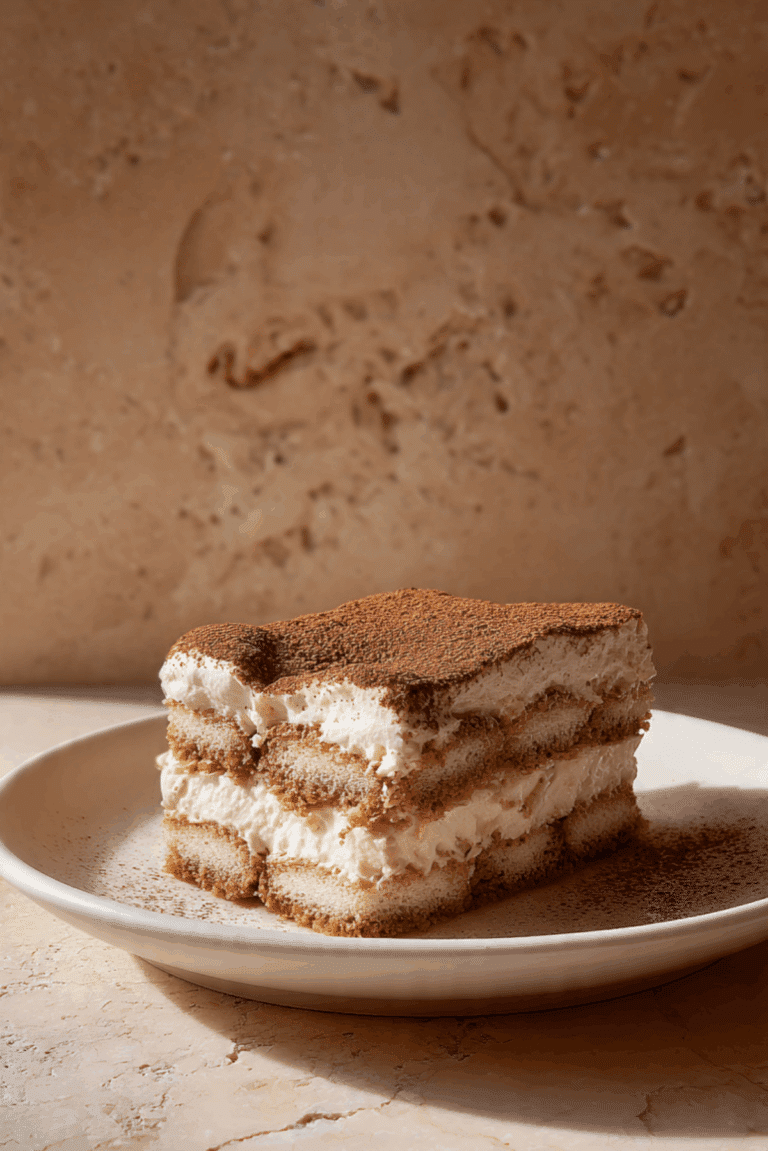
Marshmallow Ice Cream
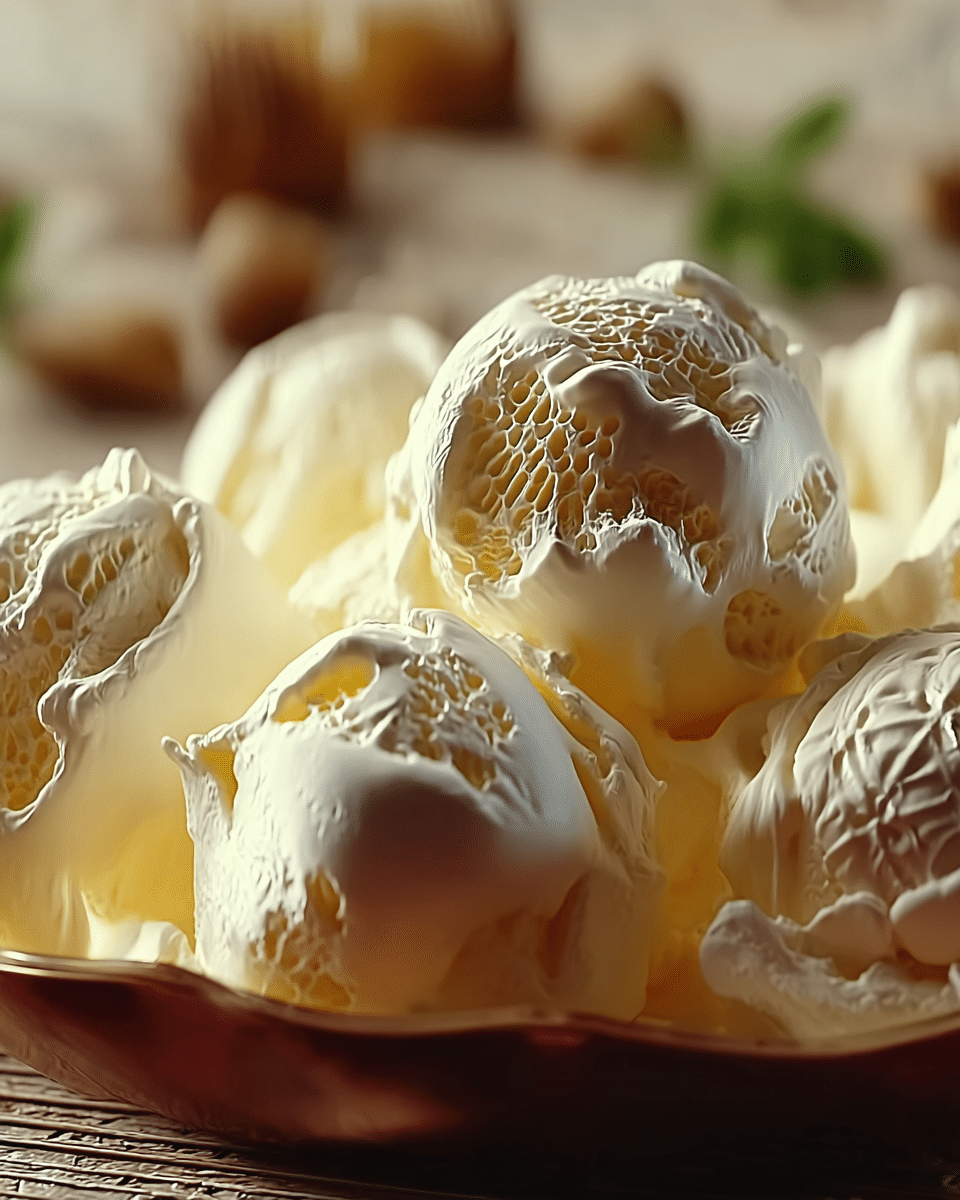
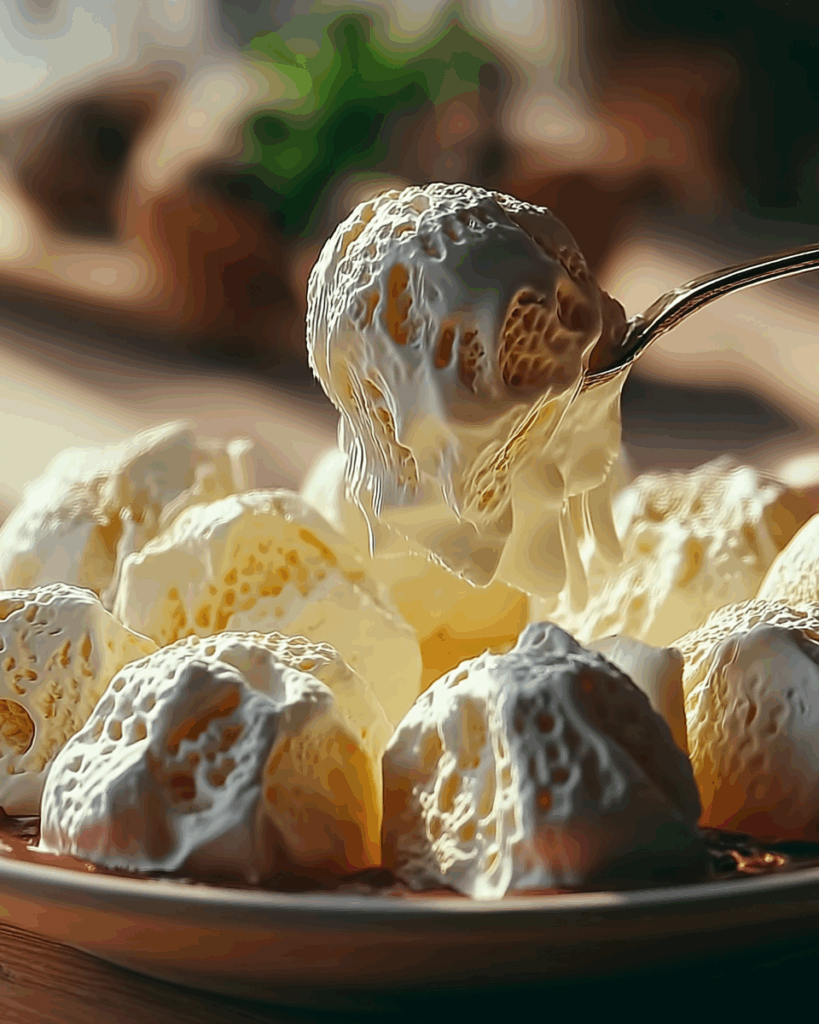
There’s something magical about a scoop of Marshmallow Ice Cream that feels like stepping back into childhood. Each bite is creamy, airy, and sweet, with little swirls of fluffy marshmallow that melt on your tongue. It’s like a dreamy cloud captured in a cone, perfect for warm summer days or cozy nights when you’re craving comfort with a playful twist. Trust me, you’re going to love this.
Behind the Recipe
Marshmallows have always been a symbol of childhood fun—think campfires, hot cocoa, and sticky fingers from pulling apart gooey treats. This recipe takes that nostalgia and folds it into a luscious ice cream base. The first time I made it, I felt like I was spooning happiness straight from the freezer, and every batch since has had that same sense of whimsy.
Recipe Origin or Trivia
Ice cream has been around for centuries, with variations found across cultures from Italian gelato to Indian kulfi. Marshmallows, however, have an ancient Egyptian origin, where they were once made from the mallow plant. It wasn’t until the 19th century that marshmallows became the fluffy candy we know today. Combining these two beloved treats creates a dessert that feels both timeless and delightfully modern.
Print
Marshmallow Ice Cream
- Prep Time: 15 minutes
- Cook Time: 10 minutes
- Total Time: 4 hours 30 minutes
- Yield: 8 servings 1x
- Category: Dessert
- Method: Churned (Ice Cream Maker)
- Cuisine: American
- Diet: Gluten Free
Description
A creamy, nostalgic homemade marshmallow ice cream with swirls of gooey mini marshmallows folded into a rich vanilla base, perfect for scoops, sundaes, and playful desserts.
Ingredients
- 2 cups heavy cream
- 1 cup whole milk
- 3/4 cup granulated sugar
- 3 cups mini marshmallows (reserve 1 cup for folding in)
- 2 teaspoons vanilla extract
- 1/4 teaspoon salt
Instructions
- Place your ice cream maker bowl in the freezer at least 24 hours before churning so it is fully frozen.
- In a medium saucepan over medium heat, combine 2 cups heavy cream, 1 cup whole milk, and 3/4 cup granulated sugar, stirring until the sugar dissolves and the mixture is warm but not boiling.
- Add 2 cups of the mini marshmallows to the warm cream mixture and stir constantly until the marshmallows melt and the mixture is smooth.
- Remove the pan from the heat, whisk in 2 teaspoons vanilla extract and 1/4 teaspoon salt, then let the base cool to room temperature.
- Cover and chill the mixture in the refrigerator for at least 4 hours or until thoroughly cold.
- Pour the chilled mixture into your prepared ice cream maker and churn according to the manufacturer instructions until it reaches a soft-serve consistency.
- Fold in the remaining 1 cup mini marshmallows gently with a spatula to distribute small gooey pockets throughout the churned ice cream.
- Transfer the ice cream to a freezer-safe container, smooth the top, press a piece of parchment directly onto the surface to prevent ice crystals, and freeze for 2 to 3 hours until firm.
- When ready to serve, let the container sit at room temperature for 2 minutes for easier scooping, then serve in cones, bowls, or alongside warm desserts.
Notes
- For a subtle toasted flavor, toast a few marshmallows and fold them in as garnish.
- Chill the base completely before churning to ensure a smooth, creamy texture and to reduce ice crystals.
- Press parchment paper onto the surface of the ice cream before sealing to keep it extra creamy during storage.
Nutrition
- Serving Size: 1 serving (about 1/2 cup)
- Calories: 290
- Sugar: 24 g
- Sodium: 60 mg
- Fat: 18 g
- Saturated Fat: 11 g
- Unsaturated Fat: 6 g
- Trans Fat: 0 g
- Carbohydrates: 30 g
- Fiber: 0 g
- Protein: 3 g
- Cholesterol: 70 mg
Keywords: marshmallow ice cream, homemade ice cream, marshmallow recipe, creamy dessert, summer dessert
Why You’ll Love Marshmallow Ice Cream
Here’s why this ice cream will win your heart (and your spoon):
Versatile: Enjoy it plain, or top with chocolate sauce, sprinkles, or even crushed graham crackers for a s’mores-inspired delight.
Budget-Friendly: With simple pantry staples and a bag of marshmallows, you’ll create something that feels gourmet without breaking the bank.
Quick and Easy: No fancy techniques, just a straightforward mix and churn for dreamy results.
Customizable: Swap flavors, add mix-ins like chocolate chips, or swirl in caramel for fun variations.
Crowd-Pleasing: It’s a hit with kids and adults alike—no one can resist.
Make-Ahead Friendly: Prepare it a day or two ahead for stress-free entertaining.
Great for Leftovers: Though rare, leftovers scoop beautifully for milkshakes or layered desserts.
Chef’s Pro Tips for Perfect Results
Every scoop should taste like a little cloud of happiness. Here are my go-to tricks:
- Toast your marshmallows lightly before folding them in to add a subtle caramel note.
- Chill your base thoroughly before churning for the creamiest texture.
- Use mini marshmallows for a more even, fluffy swirl throughout the ice cream.
- Don’t skip the pinch of salt—it balances sweetness and enhances flavor.
Kitchen Tools You’ll Need
To make this ice cream smooth and hassle-free, gather these essentials:
Ice Cream Maker: For that creamy churned texture.
Saucepan: To melt marshmallows into the cream base.
Mixing Bowls: For whisking and combining ingredients.
Whisk: Ensures smooth blending of the custard.
Spatula: Perfect for folding in melted marshmallows.
Freezer-Safe Container: To store your finished ice cream.
Ingredients in Marshmallow Ice Cream
The beauty of this recipe lies in how simple ingredients come together to create pure joy.
- Heavy Cream: 2 cups provides richness and that silky mouthfeel.
- Whole Milk: 1 cup keeps the texture balanced and creamy.
- Granulated Sugar: 3/4 cup adds sweetness without overpowering.
- Mini Marshmallows: 3 cups the star of the show, melted for flavor and folded in for texture.
- Vanilla Extract: 2 teaspoons brings warmth and depth.
- Salt: 1/4 teaspoon balances the sweetness.
Ingredient Substitutions
Sometimes you need a quick swap, and this recipe is forgiving.
Heavy Cream: Use half-and-half for a lighter version.
Whole Milk: Almond milk or oat milk for a dairy-free alternative.
Mini Marshmallows: Large marshmallows, chopped into small pieces.
Granulated Sugar: Honey or maple syrup for natural sweetness.
Ingredient Spotlight
Mini Marshmallows: These little pillows don’t just add sweetness—they create pockets of gooey delight that make this ice cream unforgettable.
Vanilla Extract: The aromatic heart of this recipe, it ties together cream and marshmallow into one harmonious bite.
Instructions for Making Marshmallow Ice Cream
Making Marshmallow Ice Cream is a fun adventure in itself. Let’s walk through it step by step:
- Preheat Your Equipment: Place your ice cream maker bowl in the freezer at least 24 hours before churning.
- Combine Ingredients: In a saucepan, warm cream, milk, and sugar until the sugar dissolves. Add 2 cups of marshmallows, stirring until melted and smooth.
- Prepare Your Cooking Vessel: Remove from heat and whisk in vanilla extract and salt. Let the mixture cool completely, then chill in the refrigerator for at least 4 hours.
- Assemble the Dish: Pour the chilled mixture into your ice cream maker and churn according to manufacturer instructions.
- Cook to Perfection: When the ice cream is nearly set, fold in the remaining marshmallows for texture.
- Finishing Touches: Transfer to a freezer-safe container, smoothing the top.
- Serve and Enjoy: Freeze for 2–3 hours until firm, then scoop into bowls or cones.
Texture & Flavor Secrets
The beauty of this ice cream lies in contrasts. The base is luxuriously smooth, while the marshmallow swirls give bursts of gooey softness. Sweet vanilla undertones mingle with toasted sugar notes, making each bite indulgent and playful at once.
Cooking Tips & Tricks
Here are some handy extras to make your ice cream even better:
- Freeze your container ahead of time for faster setting.
- For a s’mores twist, mix in chocolate chunks and graham cracker crumbs.
- Let the ice cream sit at room temperature for 2 minutes before scooping for the perfect texture.
What to Avoid
Even the best recipes have pitfalls. Here’s what to steer clear of:
- Skipping the chilling step—this can cause icy texture.
- Over-melting marshmallows, which can turn rubbery.
- Adding too many mix-ins, which may prevent proper churning.
Nutrition Facts
Servings: 8
Calories per serving: 290
Note: These are approximate values.
Preparation Time
Prep Time: 15 minutes
Cook Time: 10 minutes
Total Time: 4 hours 30 minutes (includes chilling and freezing)
Make-Ahead and Storage Tips
This dessert is tailor-made for planning ahead. Freeze the base a day before churning, or make the entire recipe up to a week in advance. Store in an airtight container in the freezer. For longer storage, press parchment paper directly onto the surface to prevent ice crystals. To re-soften, let it sit at room temperature for a few minutes before serving.
How to Serve Marshmallow Ice Cream
Scoop it high into cones, layer it in sundae glasses with chocolate sauce, or serve it alongside warm brownies for a hot-and-cold contrast. For gatherings, try a marshmallow ice cream sandwich between two chewy cookies—it’s unforgettable.
Creative Leftover Transformations
If you happen to have leftovers, transform them into new treats:
- Blend into milkshakes with chocolate syrup.
- Layer in parfaits with fruit and granola.
- Use as a topping for waffles or pancakes.
Additional Tips
For an extra burst of flavor, swirl in caramel or strawberry jam before freezing. Always taste your base before chilling to adjust sweetness to your liking. And don’t be afraid to experiment with toppings—this ice cream is your canvas.
Make It a Showstopper
Presentation matters! Drizzle chocolate sauce in the serving bowl before scooping, sprinkle mini marshmallows on top, or torch a few marshmallows lightly and place them as garnish. A little flourish goes a long way in making this dessert look as dreamy as it tastes.
Variations to Try
- Rocky Road Style: Add chocolate chunks and almonds.
- Caramel Swirl: Fold in ribbons of caramel sauce.
- Strawberry Marshmallow: Mix in fresh strawberry puree before churning.
- Minty Fresh: Add peppermint extract and green coloring for a holiday twist.
FAQ’s
1. Can I make this without an ice cream maker?
Yes, simply pour the base into a loaf pan, freeze, and stir every 30 minutes until set.
2. Can I use flavored marshmallows?
Absolutely, strawberry or chocolate marshmallows can add a fun twist.
3. How long does this ice cream last in the freezer?
Up to 2 weeks if stored properly in an airtight container.
4. Can I use marshmallow fluff instead of marshmallows?
Yes, though the texture will be smoother with fewer gooey chunks.
5. Is this recipe gluten-free?
Yes, as long as the marshmallows are certified gluten-free.
6. Can I add food coloring?
Of course, a few drops of pastel colors make it extra playful.
7. How can I make it less sweet?
Use fewer marshmallows or swap some sugar with a sugar substitute.
8. Can I toast marshmallows before adding them?
Yes, toasted marshmallows add a lovely smoky flavor.
9. Can I make this vegan?
Yes, use coconut cream, almond milk, and vegan marshmallows.
10. Can I double the recipe?
Definitely, just ensure your ice cream maker has enough capacity.
Conclusion
Marshmallow Ice Cream is more than a dessert—it’s a scoop of pure nostalgia wrapped in creamy indulgence. From its cloudlike texture to its playful bursts of sweetness, it’s a recipe that brings joy with every spoonful. Whether you’re sharing it with family, serving it at a party, or sneaking a midnight bite, let me tell you, it’s worth every bite.

