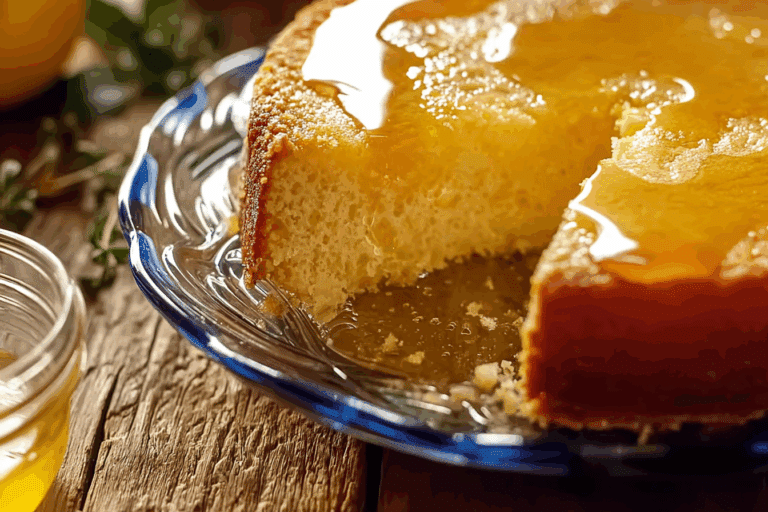
Maple Vanilla Baked Pears (GF)
There is something almost magical about the way pears transform in the oven. They start out firm and simple, and then slowly soften into something silky, fragrant, and deeply comforting. When maple syrup and vanilla join the party, the whole kitchen fills with a warm, cozy aroma that feels like a soft blanket on a cool day. Trust me, you’re going to love this. It is simple, wholesome, and somehow tastes like a dessert you would order at a charming little café.
A Cozy Dessert That Feels Like a Warm Hug
Some desserts shout for attention, layered and frosted and dramatic. This one whispers. It leans into natural sweetness, gentle caramel notes, and that unmistakable floral scent of ripe pears. The maple syrup melts into the fruit as it bakes, creating a glossy glaze that settles into every curve. Vanilla wraps everything together, making each bite soft, sweet, and delicately rich. This one’s a total game-changer if you love desserts that feel indulgent without being heavy.
A Little Backstory Behind Baked Fruit Classics
Baked fruit has been a comforting staple in many cultures for generations. In colder regions where fresh fruit was precious during winter months, baking was a way to stretch flavor and warmth from simple ingredients. Pears, in particular, have long been favored in European kitchens for their ability to hold shape while becoming meltingly tender. Adding maple syrup gives a gentle nod to North American flavors, bringing earthy sweetness that pairs beautifully with the fruit’s natural sugars. It is a lovely meeting point of tradition and comfort.
Why This Recipe Is So Reliable and Loved
Before we step into the kitchen, let me tell you why this dish deserves a spot in your regular rotation.
Versatile: Serve it as a light dessert, spoon it over yogurt for breakfast, or pair it with a scoop of vanilla ice cream for something extra special.
Budget-Friendly: Pears, maple syrup, and vanilla are simple ingredients that deliver big flavor without fancy extras.
Quick and Easy: Minimal prep and straightforward baking make this ideal for busy days.
Customizable: You can add spices like cinnamon or a sprinkle of nuts if you want to play with texture.
Crowd-Pleasing: The gentle sweetness and tender texture appeal to both kids and adults.
Make-Ahead Friendly: Bake them earlier in the day and gently reheat before serving.
Great for Leftovers: They taste amazing chilled the next day, especially with oatmeal or granola.
Expert Tips for Perfectly Tender Pears
A little know-how goes a long way here.
- Choose pears that are ripe but still slightly firm, they should give just a little when pressed.
- Arrange them cut side up so the maple glaze pools into the center.
- Baste once during baking to keep the tops glossy and flavorful.
- Do not overbake, you want them tender but not collapsing.
Kitchen Tools That Make It Easy
You do not need much, which is part of the charm.
Baking Dish: A medium ceramic or glass dish holds the pears snugly and evenly distributes heat.
Sharp Knife: For cleanly halving and coring the pears.
Spoon: Useful for scooping out the core and basting during baking.
Measuring Spoons and Cups: To keep the maple and vanilla balanced just right.
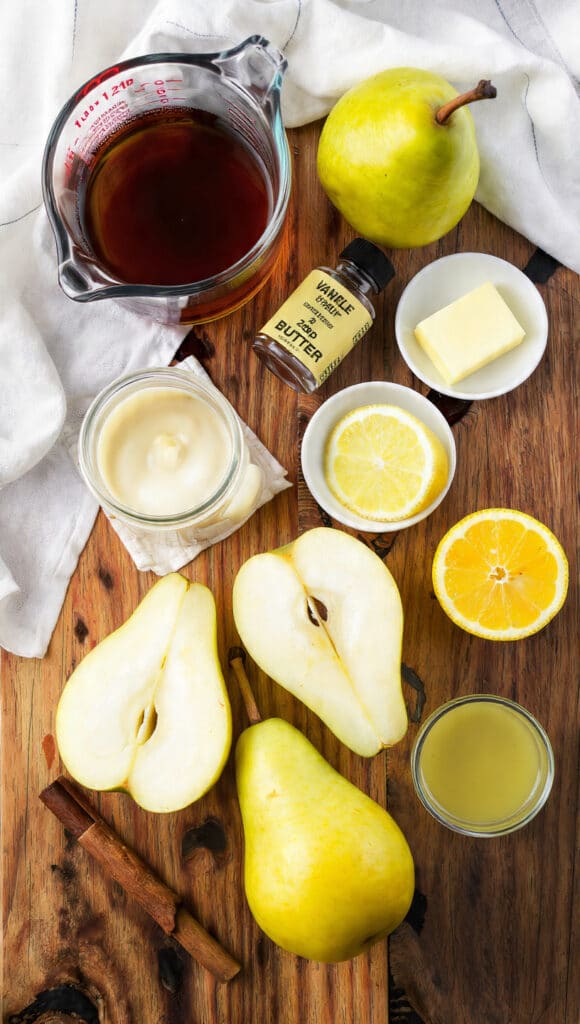
Ingredients You Will Need For This Dish
The beauty of this recipe lies in its simplicity. Each ingredient plays a clear role, building layers of natural sweetness and aroma.
- Ripe Pears: 4 medium pears, halved and cored, these soften beautifully and become tender while holding their shape.
- Pure Maple Syrup: 1/4 cup, adds deep, earthy sweetness and creates a glossy glaze.
- Vanilla Extract: 1 teaspoon, enhances the natural sweetness and adds warmth.
- Unsalted Butter: 2 tablespoons, melted, adds richness and helps with gentle caramelization.
- Ground Cinnamon: 1/2 teaspoon, optional but lovely for a subtle spice note.
- Fresh Lemon Juice: 1 tablespoon, balances the sweetness and keeps the flavors bright.
Flexible Substitutions You Can Try
If you need to adjust, here are easy swaps.
Pure Maple Syrup: Honey as a natural alternative.
Unsalted Butter: Coconut oil for a dairy free option.
Ground Cinnamon: A pinch of nutmeg or cardamom for a different warm spice.
Spotlight on Key Ingredients
Ripe Pears: The star of the show. Their delicate floral sweetness deepens as they bake, becoming soft and almost creamy.
Pure Maple Syrup: Not just sweet, it adds a slightly smoky depth that makes the flavor feel layered and comforting.
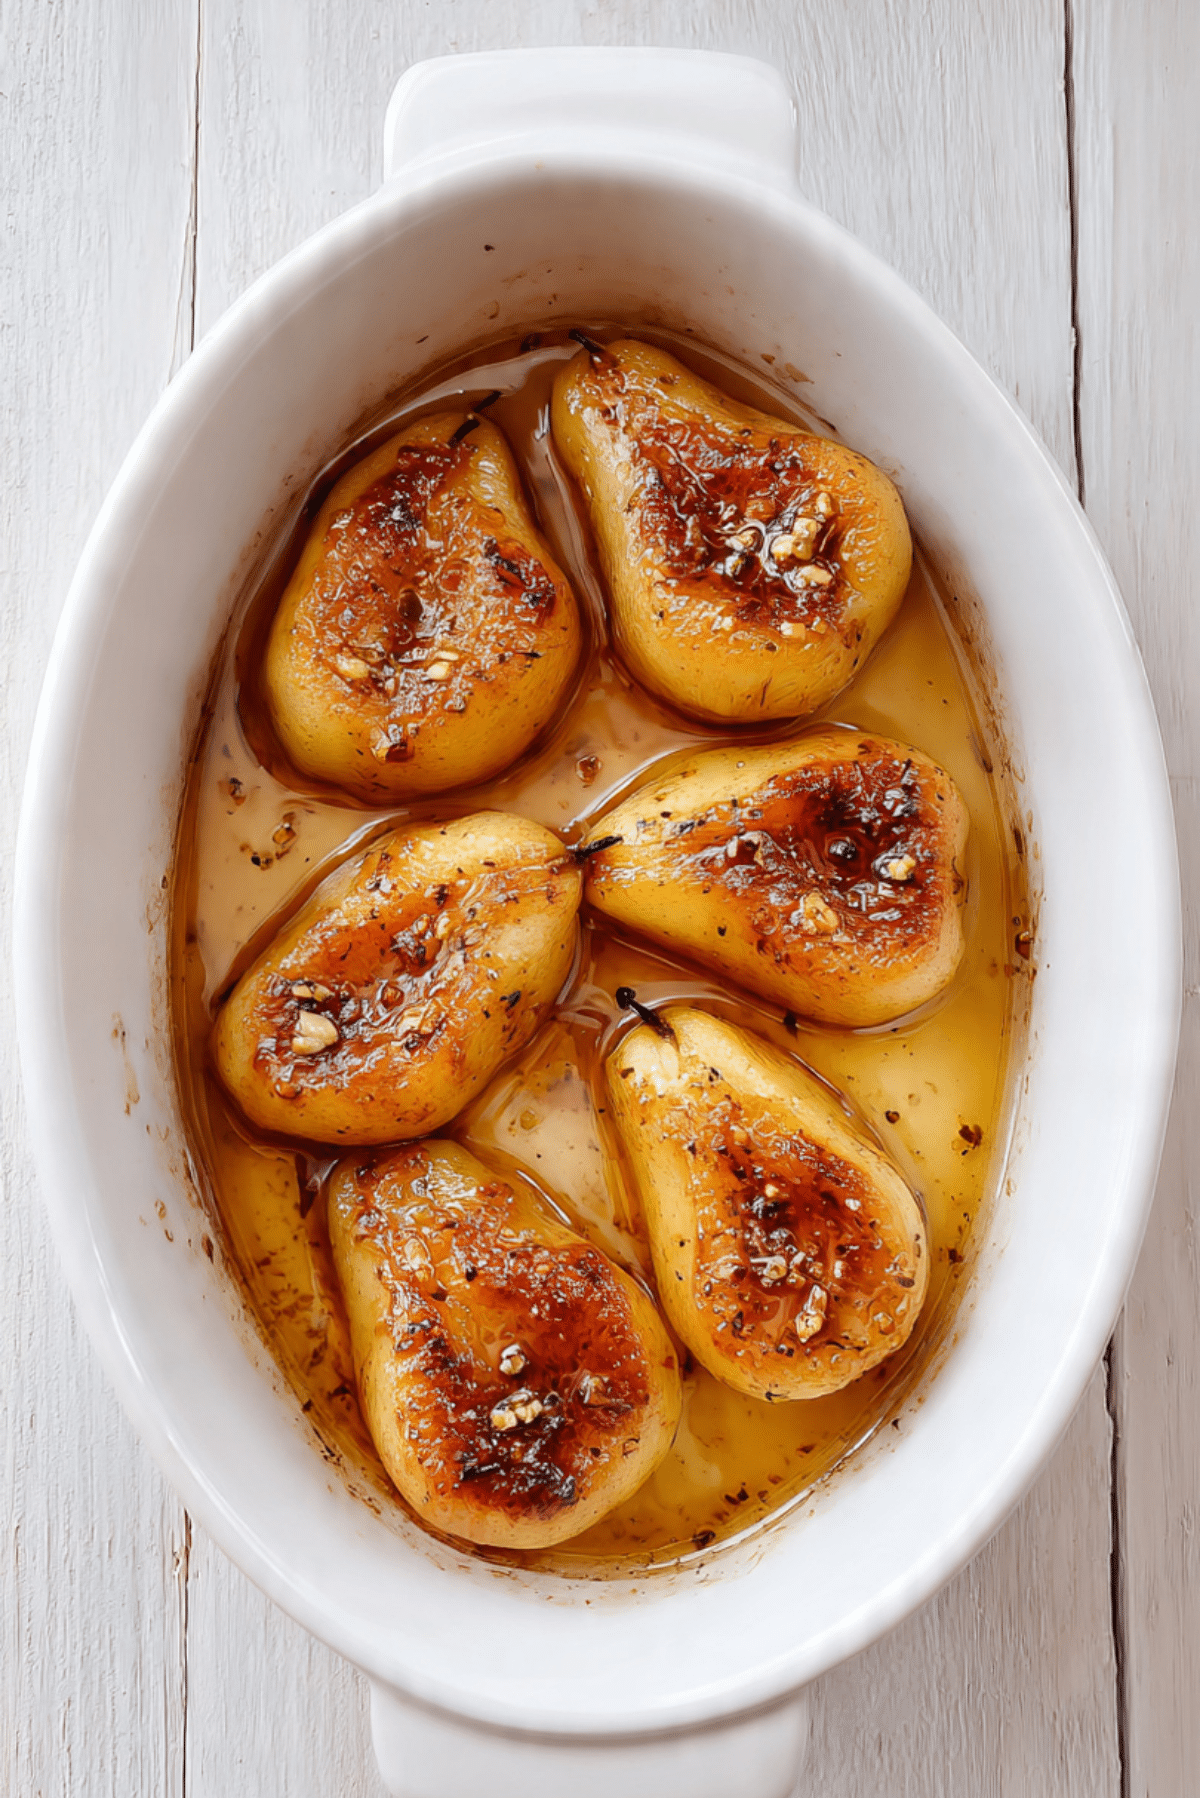
Let’s Bake These Beauties
Now let dive into the heart of it, the simple steps that turn humble pears into something unforgettable.
- Preheat Your Equipment: Preheat your oven to 375 F, which is 190 C, so it is ready to gently soften and caramelize the fruit.
- Combine Ingredients: In a small bowl, stir together the maple syrup, melted butter, vanilla extract, lemon juice, and ground cinnamon until well blended.
- Prepare Your Cooking Vessel: Lightly grease a medium baking dish and arrange the pear halves cut side up in a single layer.
- Assemble the Dish: Spoon the maple mixture evenly over each pear half, letting it pool in the hollowed centers.
- Cook to Perfection: Bake for 25 to 30 minutes, basting once halfway through, until the pears are tender when pierced with a fork.
- Finishing Touches: Remove from the oven and let them rest for 5 minutes so the juices thicken slightly.
- Serve and Enjoy: Serve warm, spooning extra glaze from the dish over the top.
Texture and Flavor That Develop in the Oven
As the pears bake, their firm flesh relaxes into a silky texture that almost melts in your mouth. The maple syrup thickens slightly, creating a glossy coating that clings to each bite. Vanilla blooms in the heat, becoming fragrant and sweet, while the lemon keeps everything balanced so it never feels too heavy. Let me tell you, it’s worth every bite.
Helpful Tips for Even Better Results
If you want to make it truly shine, keep these in mind.
- Spoon the pan juices over the pears right before serving for extra gloss and flavor.
- Add a small sprinkle of chopped walnuts for gentle crunch.
- Serve with a dollop of Greek yogurt for contrast and creaminess.
What to Avoid for Best Results
A few small missteps can change the texture, so here is what to watch for.
- Using overly ripe pears, which may turn mushy during baking.
- Skipping the lemon juice, which helps balance the sweetness.
- Overcrowding the baking dish, which prevents even cooking.
Nutrition Highlights
Servings: 4
Calories per serving: 210
Note: These are approximate values.
Time Breakdown at a Glance
Prep Time: 10 minutes
Cook Time: 30 minutes
Total Time: 40 minutes
Make-Ahead and Storage Tips
You can bake the pears earlier in the day and store them covered in the refrigerator for up to three days. Reheat gently in a 300 F oven until warmed through. They can also be frozen in an airtight container for up to one month, then thawed overnight in the refrigerator before reheating.
Serving Ideas to Elevate the Experience
Serve them warm with vanilla ice cream, spoon them over oatmeal, or pair with thick yogurt and a drizzle of extra maple syrup. They also make a beautiful side for brunch spreads.
Creative Ways to Use Leftovers
Chop leftover pears and fold them into pancake batter. Layer them into parfaits with granola. Or mash slightly and spread over toast with a sprinkle of cinnamon.
Extra Tips for Flavor and Ease
A splash of orange zest can brighten the whole dish. If your pears are very large, extend baking time by five minutes. Always taste the glaze before baking to adjust sweetness.
Make It Visually Stunning
Arrange the pear halves neatly on a platter and drizzle the glossy sauce over the top. A tiny sprinkle of cinnamon right before serving adds contrast and warmth.
Variations to Try Next Time
- Add a handful of fresh cranberries for a tart contrast.
- Sprinkle chopped pecans before baking for crunch.
- Stir a little grated fresh ginger into the maple mixture.
- Serve with mascarpone for a richer dessert.
- Add a light dusting of coconut flakes after baking.
FAQ’s
Q1: Can I use unripe pears?
Yes, but they may need a few extra minutes in the oven to soften properly.
Q2: Can I make this dairy free?
Absolutely, swap the butter for coconut oil.
Q3: What type of pears work best?
Bosc or Anjou hold their shape nicely when baked.
Q4: Can I reduce the sweetness?
Yes, slightly reduce the maple syrup to suit your taste.
Q5: Do I need to peel the pears?
No, the skins soften beautifully during baking.
Q6: Can I double the recipe?
Yes, just use a larger baking dish and avoid overcrowding.
Q7: How do I know they are done?
They should be easily pierced with a fork but still hold their shape.
Q8: Can I add nuts?
Yes, chopped walnuts or pecans work wonderfully.
Q9: Is this suitable for a gluten free diet?
Yes, all ingredients are naturally gluten free.
Q10: Can I serve them cold?
Yes, they are delicious chilled as well.
Conclusion
Simple ingredients, gentle heat, and a little patience come together to create something quietly spectacular. These Maple Vanilla Baked Pears are proof that dessert does not need to be complicated to feel special. Make them once, and you will find yourself coming back again and again. Trust me, you are going to love this.
Print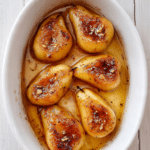
Maple Vanilla Baked Pears (GF)
- Prep Time: 10 minutes
- Cook Time: 30 minutes
- Total Time: 40 minutes
- Yield: 4 servings 1x
- Category: Dessert
- Method: Baking
- Cuisine: American
- Diet: Gluten Free
Description
Tender baked pears glazed with pure maple syrup and vanilla, gently caramelized in the oven for a warm, naturally sweet dessert that feels cozy and elegant.
Ingredients
- 4 medium ripe pears, halved and cored
- 1/4 cup pure maple syrup
- 1 teaspoon vanilla extract
- 2 tablespoons unsalted butter, melted
- 1/2 teaspoon ground cinnamon (optional)
- 1 tablespoon fresh lemon juice
Instructions
- Preheat oven to 375 F (190 C).
- In a small bowl, stir together the maple syrup, melted butter, vanilla extract, lemon juice, and ground cinnamon until well combined.
- Lightly grease a medium baking dish and arrange the pear halves cut side up in a single layer.
- Spoon the maple mixture evenly over each pear half, allowing it to pool in the centers.
- Bake for 25 to 30 minutes, basting once halfway through, until the pears are tender when pierced with a fork.
- Remove from the oven and let rest for 5 minutes so the juices thicken slightly.
- Serve warm, spooning extra glaze from the dish over the top.
Notes
- Choose pears that are ripe but still slightly firm for the best texture.
- For a dairy free option, substitute coconut oil for butter.
- Store leftovers in an airtight container in the refrigerator for up to 3 days.
- Reheat gently at 300 F until warmed through.
Nutrition
- Serving Size: 1 pear half (2 halves per serving)
- Calories: 210
- Sugar: 28g
- Sodium: 35mg
- Fat: 6g
- Saturated Fat: 3.5g
- Unsaturated Fat: 2g
- Trans Fat: 0g
- Carbohydrates: 40g
- Fiber: 6g
- Protein: 1g
- Cholesterol: 15mg
Keywords: maple baked pears, vanilla pears, gluten free dessert, easy pear dessert, baked fruit recipe