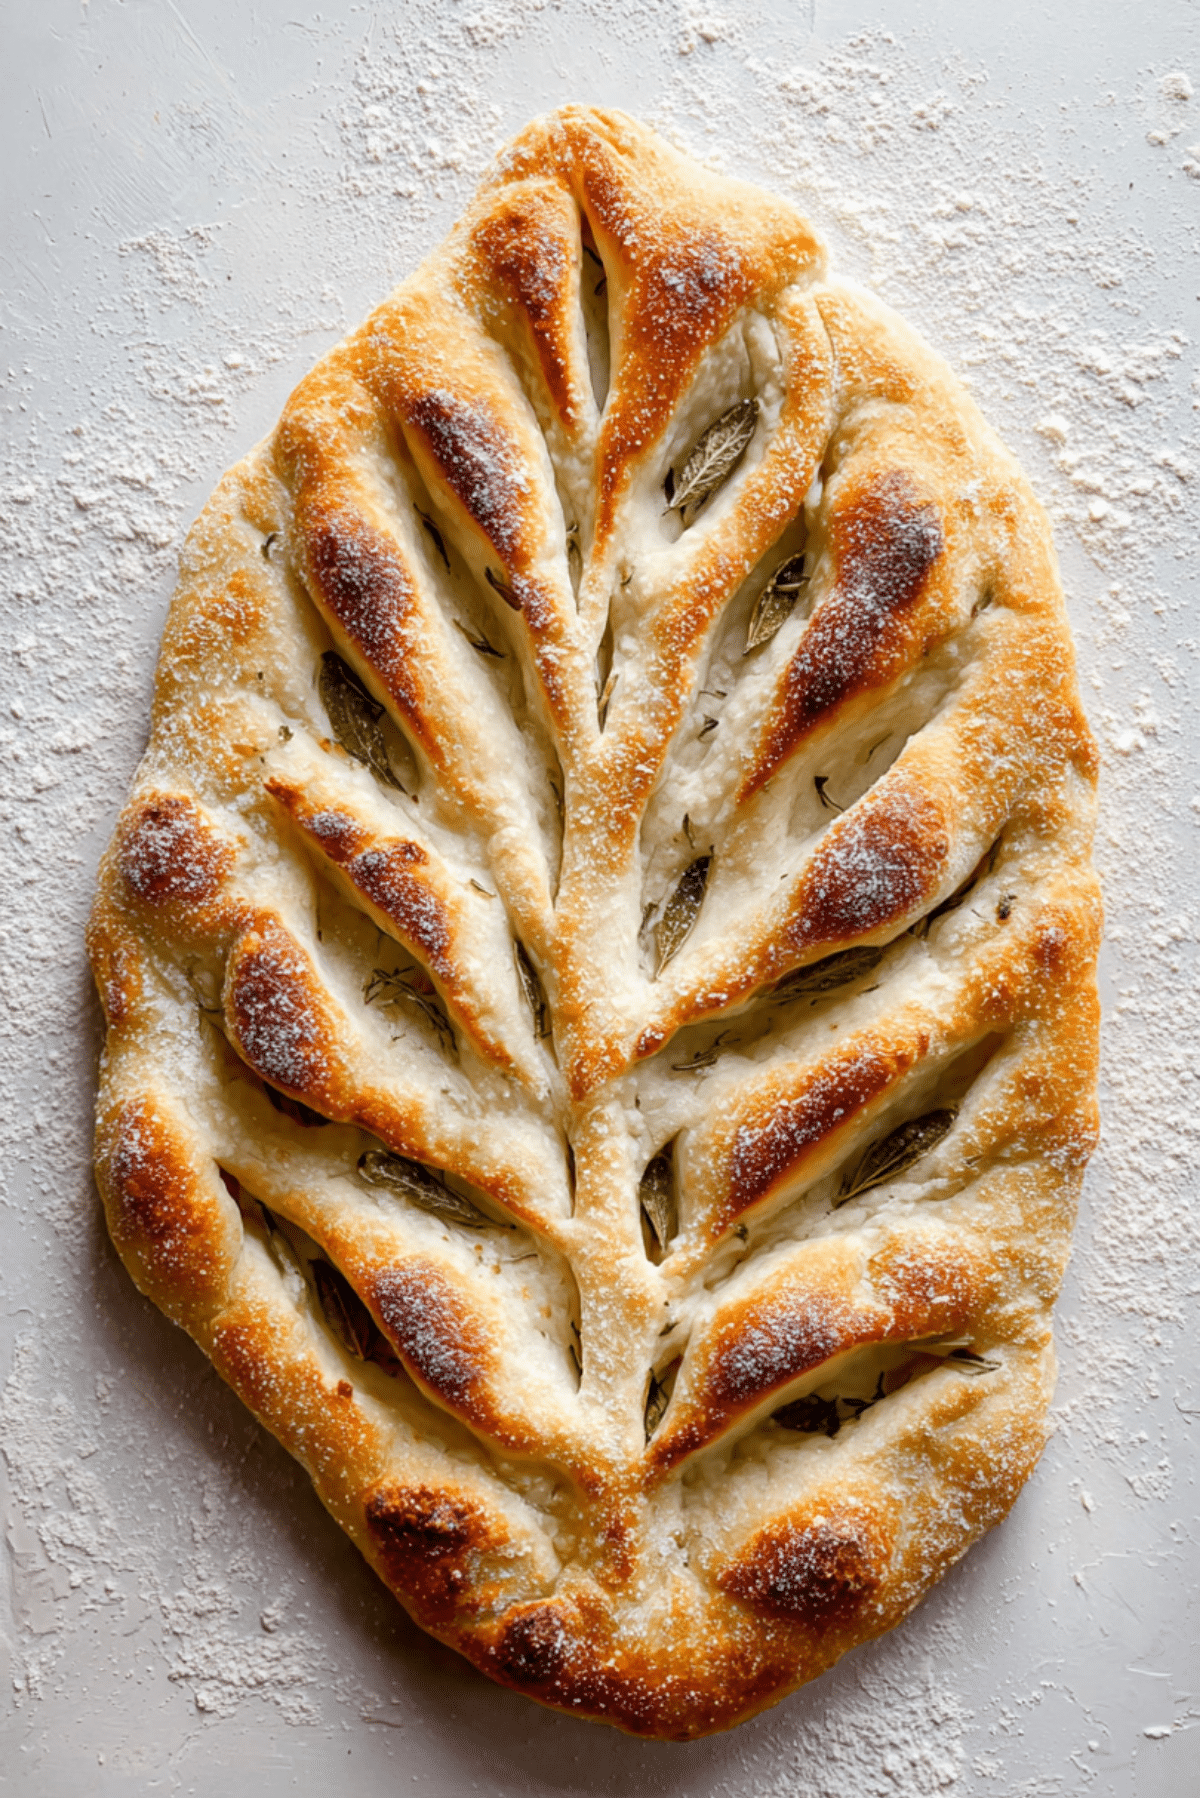
Homemade Fougasse
There is something almost magical about pulling a beautifully shaped loaf from the oven, especially when it looks like it came straight from a small village bakery in the south of France. Homemade Fougasse is one of those breads that feels impressive the moment you see it, yet once you make it, you realize how wonderfully simple it is. The crisp golden crust, the airy interior, and those signature leaf-like cuts make it a true showpiece. Trust me, you’re going to love this.
A Rustic Bread That Feels Like a Little Celebration
If you have ever wanted to bake bread that makes people pause before taking a bite, this is it. The dramatic slashes open wide in the oven, creating crispy edges and tender pockets of crumb inside. The aroma alone, warm wheat with a hint of olive oil, fills the kitchen in the most comforting way. This one’s a total game-changer for home bakers who want something beautiful without complicated techniques.
A Taste of Provence and Its Baking Traditions
Fougasse comes from the Provence region of France, where it has long been a staple in local bakeries. Traditionally baked in communal ovens, it was often shaped to resemble a leaf or a stalk of wheat. Bakers would test the heat of the oven with this bread before baking other loaves. Over time, it became beloved for its crisp crust and soft interior, sometimes flavored with herbs or olives. Even in its simplest form, it carries that rustic countryside charm.
Why This Bread Always Delivers
Before we dive into the mixing bowl, let me tell you why this loaf is worth your time.
Versatile: It pairs beautifully with soups, salads, cheese boards, or simply a drizzle of olive oil.
Budget-Friendly: Made with pantry staples like flour, yeast, water, and olive oil, it proves that simple ingredients can create something extraordinary.
Quick and Easy: Compared to many artisan breads, the process is straightforward and approachable.
Customizable: You can add herbs, roasted garlic, or olives if you want to change things up.
Crowd-Pleasing: Its dramatic look makes it the centerpiece of any table.
Make-Ahead Friendly: The dough can rest in the refrigerator for a slow rise, which enhances flavor.
Great for Leftovers: Day-old slices toast beautifully and make incredible crostini.
Pro Tips From My Kitchen to Yours
A few insider tricks will make your Homemade Fougasse even better.
- Use warm water, not hot, to activate the yeast properly.
- Do not skip the resting time, this develops flavor and texture.
- Make deep, confident cuts in the dough so they open up beautifully.
- Bake until deeply golden, pale bread means less flavor and less crunch.
Essential Tools for Success
You do not need fancy equipment, but a few basics help.
Mixing Bowl: Large enough to allow the dough to expand comfortably.
Measuring Cups and Spoons: Accuracy keeps the texture just right.
Baking Sheet: A sturdy sheet ensures even browning.
Sharp Knife or Bench Scraper: For making clean decorative slashes.
Kitchen Towel: To cover the dough while it rises.
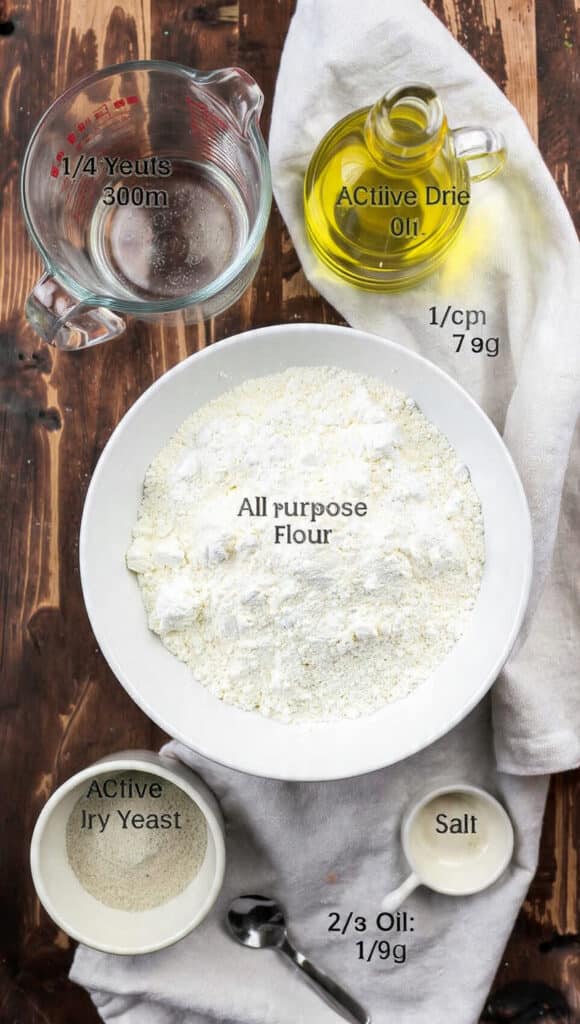
Ingredients That Bring It All Together
The beauty of this loaf lies in its simplicity, and each ingredient plays an important role in texture and flavor.
- All Purpose Flour: 3 1/2 cups or 440 grams, provides structure and chew.
- Warm Water: 1 1/4 cups or 300 milliliters, hydrates the dough and activates the yeast.
- Active Dry Yeast: 2 1/4 teaspoons or 7 grams, helps the bread rise and develop airy pockets.
- Olive Oil: 2 tablespoons or 30 milliliters, adds richness and tenderness.
- Salt: 1 1/2 teaspoons or 9 grams, enhances flavor and strengthens gluten.
Flexible Swaps If You Need Them
Sometimes you work with what you have, and that is perfectly fine.
All Purpose Flour: Bread flour for a slightly chewier texture.
Active Dry Yeast: Instant yeast in the same quantity, mixed directly with flour.
Olive Oil: Melted unsalted butter for a softer crumb.
Spotlight on the Stars
Olive Oil: This adds subtle fruitiness and keeps the crumb tender while helping the crust turn beautifully golden.
Active Dry Yeast: The quiet hero that creates those airy pockets and gives the loaf its light structure.
Let’s Shape and Bake This Beauty
Now let’s dive into the part that makes your kitchen smell incredible.
- Preheat Your Equipment: Preheat your oven to 425 degrees Fahrenheit or 220 degrees Celsius and line a baking sheet with parchment paper.
- Combine Ingredients: In a large bowl, mix warm water and yeast. Let sit for 5 minutes until foamy, then stir in olive oil, flour, and salt until a shaggy dough forms.
- Prepare Your Cooking Vessel: Turn the dough onto a lightly floured surface and knead for 8 to 10 minutes until smooth and elastic. Place back in the bowl, cover, and let rise for 1 hour or until doubled.
- Assemble the Dish: Transfer the dough to the baking sheet. Gently stretch into an oval. Using a sharp knife, cut a long slit down the center and several diagonal slashes on each side. Gently pull the cuts open to create a leaf shape.
- Cook to Perfection: Bake for 18 to 22 minutes until deeply golden and crisp on the edges.
- Finishing Touches: Brush lightly with olive oil right after baking for extra shine and flavor.
- Serve and Enjoy: Let cool slightly, then tear into it while still warm. Let me tell you, it’s worth every bite.
The Crunch and Crumb That Make It Special
What makes this bread unforgettable is the contrast. The edges turn wonderfully crisp and almost crackly, while the inside stays soft with airy pockets. The olive oil brings subtle richness, and the salt sharpens every bite. As it cools, the crust settles into that perfect balance of crisp and tender.
Helpful Tips for Perfect Results
Even simple bread benefits from attention to detail.
- Allow the dough to rise in a warm, draft free space.
- Make clean, decisive cuts so the pattern opens clearly.
- Do not overcrowd the baking sheet.
Common Mistakes and How to Avoid Them
A few small missteps can affect the final texture.
- Using water that is too hot can kill the yeast, keep it warm but comfortable to the touch.
- Not letting the dough rise fully can result in dense bread.
- Cutting too shallow will prevent the signature shape from opening.
A Quick Look at the Nutrition
Servings: 8
Calories per serving: 210
Note: These are approximate values.
Time Breakdown for Planning
Prep Time: 20 minutes
Cook Time: 20 minutes
Total Time: 1 hour 40 minutes
Planning Ahead and Storing with Care
You can prepare the dough and let it rise slowly in the refrigerator overnight for deeper flavor. Once baked, store at room temperature in a paper bag for up to 2 days. For longer storage, wrap tightly and freeze for up to 2 months. Reheat in a 350 degree Fahrenheit oven for about 8 minutes to restore crispness.
Serving Ideas to Make It Shine
Serve it alongside hearty soups, fresh salads, or a platter of cheeses and olives. Tear it into pieces and dip into olive oil with a pinch of salt. It also makes a beautiful base for sandwiches.
Turning Leftovers into Something New
Slice and toast for crostini, top with tomatoes and herbs. Cube and bake into crunchy croutons. Or use as a base for a rustic flatbread with your favorite toppings.
Extra Tips for Even Better Flavor
Brush with garlic infused olive oil before baking for added depth. Sprinkle flaky salt on top right before it goes into the oven. Bake until deeply golden for maximum flavor.
Make It Look Bakery Worthy
Right before baking, gently stretch each slit so the openings are clearly defined. A light dusting of flour before it goes into the oven adds rustic charm. Serve it on a wooden board for that authentic countryside feel.
Fun Variations to Try
Add chopped fresh rosemary to the dough for an herbal note.
Fold in sliced olives for a savory twist.
Sprinkle grated cheese over the top before baking.
Incorporate roasted garlic for sweetness and depth.
FAQ’s
Q1: Can I use whole wheat flour?
Yes, replace up to half the flour with whole wheat for a nuttier flavor.
Q2: Can I freeze the dough?
Yes, freeze after the first rise, then thaw and shape before baking.
Q3: Why did my bread turn out dense?
It may not have risen long enough or the yeast may have been inactive.
Q4: Can I make it without olive oil?
You can, but the texture will be slightly less tender.
Q5: How do I get a crispier crust?
Bake until deeply golden and allow it to cool uncovered.
Q6: Can I add herbs on top?
Absolutely, rosemary and thyme work beautifully.
Q7: What if I do not have parchment paper?
Lightly grease the baking sheet instead.
Q8: Can I double the recipe?
Yes, simply divide the dough into two loaves.
Q9: How do I know it is done baking?
It should sound hollow when tapped on the bottom.
Q10: Can I shape it differently?
Yes, you can make smaller individual loaves.
Conclusion
Homemade Fougasse is the kind of bread that feels special every single time you bake it. From its dramatic shape to its crisp crust and soft interior, it brings a little piece of Provence right into your kitchen. This one’s a total game-changer, and once you make it, you will find yourself coming back to it again and again.
Print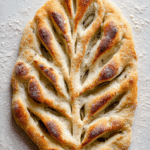
Homemade Fougasse
- Prep Time: 20 minutes
- Cook Time: 20 minutes
- Total Time: 1 hour 40 minutes
- Yield: 8 servings 1x
- Category: Bread
- Method: Baking
- Cuisine: French
- Diet: Vegetarian
Description
A rustic French leaf-shaped bread with a crisp golden crust and airy interior, simple ingredients, and beautiful artisan texture that makes any table feel special.
Ingredients
- 3 1/2 cups (440 grams) all purpose flour
- 1 1/4 cups (300 milliliters) warm water
- 2 1/4 teaspoons (7 grams) active dry yeast
- 2 tablespoons (30 milliliters) olive oil
- 1 1/2 teaspoons (9 grams) salt
Instructions
- Preheat oven to 425°F (220°C) and line a baking sheet with parchment paper.
- In a large bowl, combine warm water and yeast. Let sit for 5 minutes until foamy.
- Stir in olive oil, flour, and salt until a shaggy dough forms.
- Knead on a lightly floured surface for 8 to 10 minutes until smooth and elastic.
- Place dough in a bowl, cover, and let rise for 1 hour or until doubled in size.
- Transfer dough to the prepared baking sheet and gently stretch into an oval shape.
- Using a sharp knife, cut one long slit down the center and several diagonal slashes on each side. Gently pull the cuts open to create a leaf pattern.
- Bake for 18 to 22 minutes until deeply golden brown.
- Brush lightly with olive oil after baking and allow to cool slightly before serving.
Notes
- Make deep, confident cuts so the decorative slashes open properly.
- Ensure the water is warm but not hot to keep the yeast active.
- For extra flavor, sprinkle flaky salt on top before baking.
Nutrition
- Serving Size: 1 slice
- Calories: 210
- Sugar: 0.5 g
- Sodium: 330 mg
- Fat: 4 g
- Saturated Fat: 0.6 g
- Unsaturated Fat: 3.2 g
- Trans Fat: 0 g
- Carbohydrates: 38 g
- Fiber: 1.5 g
- Protein: 6 g
- Cholesterol: 0 mg
Keywords: homemade fougasse, French bread, artisan bread, rustic bread, leaf shaped bread