Hard Candy Recipe
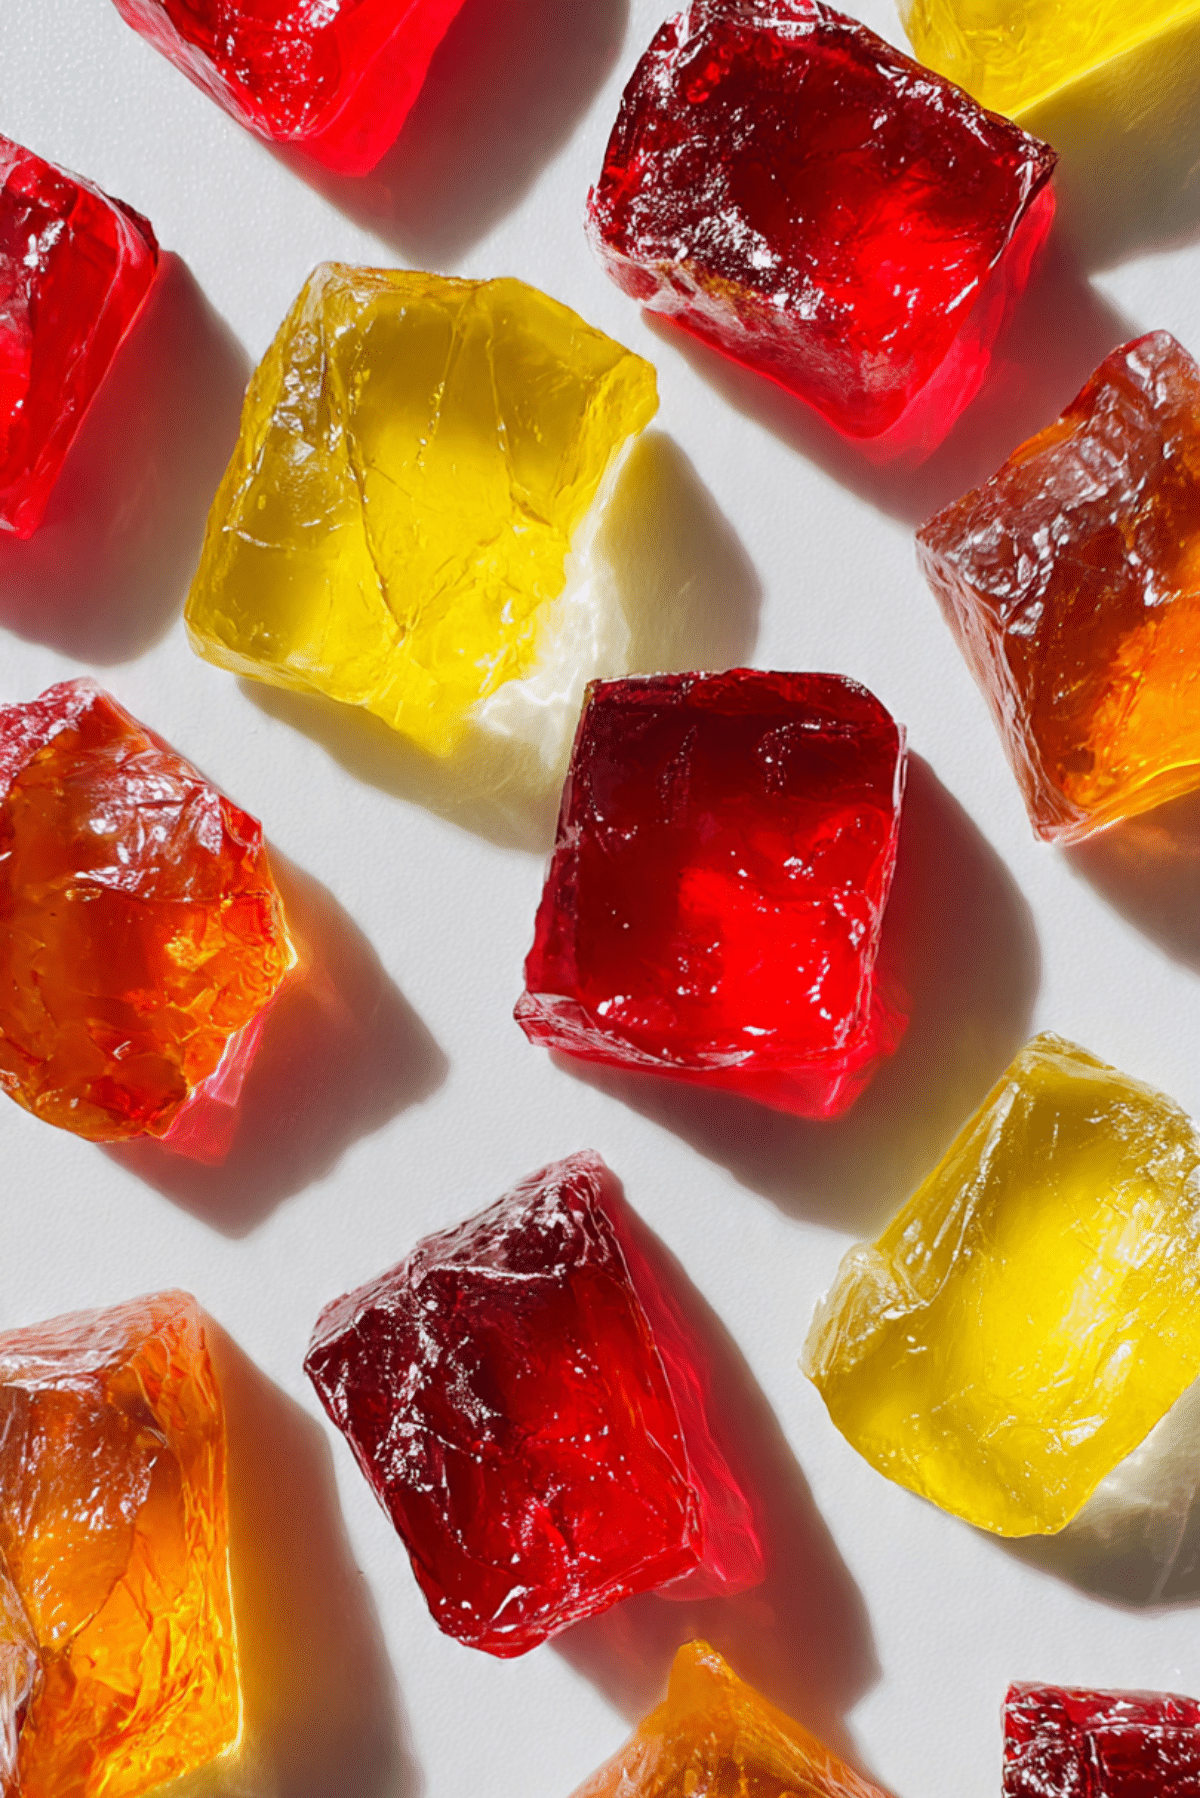
There is something almost magical about hard candy, the way it crackles, shines, and melts slowly on your tongue. Making it at home feels like stepping into a cozy old-fashioned candy shop, where sugar turns into sparkling jewels right before your eyes. Trust me, you’re going to love this, because this recipe is simple, satisfying, and surprisingly fun from start to finish.
Behind the Recipe
This hard candy recipe always takes me back to moments in the kitchen where patience met excitement. Watching clear syrup transform into glossy, colorful candy feels like a small science experiment with a sweet reward at the end. It is one of those recipes that makes you feel proud, even after the first batch.
Recipe Origin or Trivia
Hard candy has been around for centuries, originally made as a way to preserve sweetness before modern treats existed. Over time, it became a favorite for holidays, celebrations, and simple everyday indulgence. Different cultures added flavors and colors, but the heart of the recipe always stayed the same, sugar, heat, and a little bit of care.
Why You’ll Love Hard Candy Recipe
This recipe has a lot going for it, and once you try it, you’ll see why it keeps becoming a favorite.
Versatile: You can change the flavors and colors easily, making it perfect for holidays or themed treats.
Budget-Friendly: The ingredients are simple and affordable, which means you can make a big batch without spending much.
Quick and Easy: Once you get the hang of it, the process moves quickly and feels very rewarding.
Customizable: From fruity to minty, the flavor options are endless, letting you make it truly your own.
Crowd-Pleasing: These shiny candies always impress friends, kids, and guests alike.
Make-Ahead Friendly: Hard candy stores beautifully, making it great for gifting or planning ahead.
Great for Leftovers: Extra pieces keep well and are perfect for enjoying later.
Chef’s Pro Tips for Perfect Results
A little insider knowledge makes all the difference with candy making. Paying attention to temperature and timing helps you get that perfect snap and shine every time.
- Always use a candy thermometer for accuracy.
- Work quickly once the syrup reaches temperature.
- Lightly grease your tools to prevent sticking.
Kitchen Tools You’ll Need
Before diving in, gathering your tools makes the process smooth and stress free.
Saucepan: A heavy-bottomed pan helps heat the sugar evenly.
Candy Thermometer: Essential for reaching the correct hard crack stage.
Heatproof Spatula: Useful for stirring and pouring safely.
Baking Sheet: Provides a flat surface for cooling the candy.
Ingredients in Hard Candy Recipe
Each ingredient plays a simple but important role, coming together to create that classic glassy texture and clean sweetness.
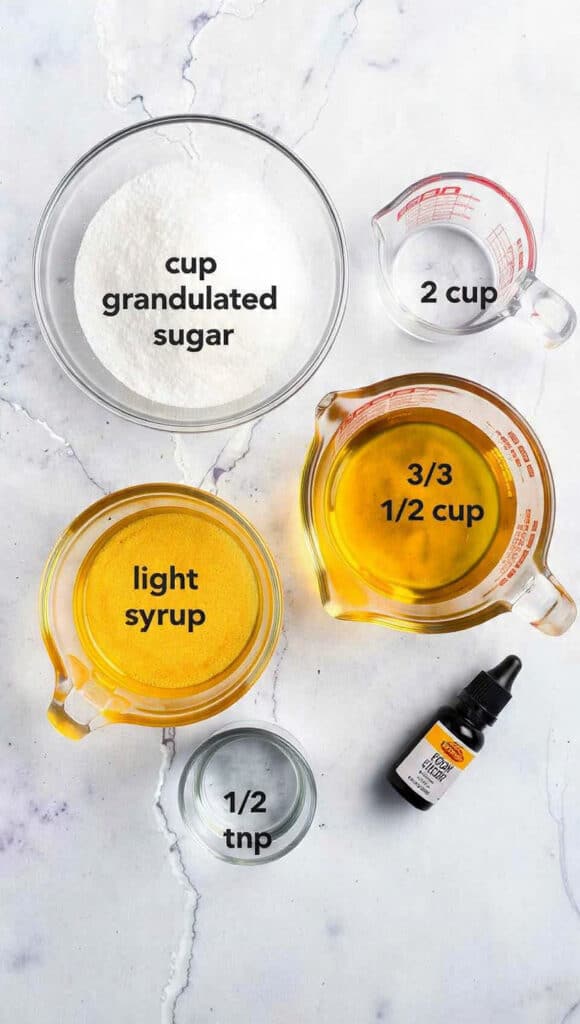
- Granulated Sugar: 2 cups, this is the base that melts and hardens into candy.
- Light Corn Syrup: 3/4 cup, helps prevent crystallization for a smooth finish.
- Water: 1/2 cup, dissolves the sugar evenly as it heats.
- Flavor Extract: 1 teaspoon, adds personality and aroma to the candy.
- Food Coloring: a few drops, gives the candy its vibrant look.
Ingredient Substitutions
Sometimes small swaps are helpful, and this recipe allows a bit of flexibility.
Light Corn Syrup: Can be replaced with glucose syrup.
Flavor Extract: Any oil-based candy flavor works well.
Ingredient Spotlight
Granulated Sugar: This is the star of the recipe, transforming from simple crystals into glossy, crunchy candy.
Light Corn Syrup: A quiet helper that keeps the texture smooth and professional.
Instructions for Making Hard Candy Recipe
Now let’s dive into the fun part, turning simple ingredients into sparkling candy.
- Preheat Your Equipment: Prepare a baking sheet by lightly greasing it and set aside your thermometer.
- Combine Ingredients: Add sugar, corn syrup, and water to the saucepan and stir gently.
- Prepare Your Cooking Vessel: Place the pan over medium heat and attach the thermometer securely.
- Assemble the Dish: Allow the mixture to boil without stirring until it reaches 300°F.
- Cook to Perfection: Remove from heat and quickly stir in flavoring and food coloring.
- Finishing Touches: Carefully pour the hot syrup onto the prepared baking sheet.
- Serve and Enjoy: Let cool completely, then break into pieces and enjoy.
Texture & Flavor Secrets
The magic of hard candy is in its contrast, crisp and snappy on the outside, then slowly melting into pure sweetness. The flavors bloom as the candy warms, making each piece last longer than you expect.
Cooking Tips & Tricks
Making candy gets easier with a few helpful habits.
- Use medium heat to avoid scorching.
- Keep a bowl of ice water nearby for safety.
- Clean tools immediately after use while sugar is still warm.
What to Avoid
Even simple candy can go wrong if rushed.
- Do not stir once boiling starts, it can cause crystals.
- Avoid humid days, moisture affects texture.
- Never guess the temperature, accuracy matters.
Nutrition Facts
Servings: 20 pieces
Calories per serving: 70
Note: These are approximate values.
Preparation Time
Prep Time: 10 minutes
Cook Time: 20 minutes
Total Time: 30 minutes
Make-Ahead and Storage Tips
Hard candy is perfect for making ahead. Once cooled, store it in an airtight container at room temperature. Keep it away from moisture, and it will stay fresh and crisp for weeks.
How to Serve Hard Candy Recipe
Serve these candies in small jars, wrap them as gifts, or place them in candy bowls for guests. They also make charming party favors.
Creative Leftover Transformations
Leftover pieces can be crushed and used as cake decorations or stirred into hot drinks for a sweet twist.
Additional Tips
Always work carefully with hot sugar and take your time. Candy making is part patience, part excitement, and always worth every bite.
Make It a Showstopper
Use different colors, swirl them gently, or pour into molds to create eye-catching designs that look bakery worthy.
Variations to Try
- Add citrus extracts for a fresh flavor.
- Use layered colors for a stained-glass effect.
- Create seasonal flavors like cinnamon or peppermint.
- Pour into molds for fun shapes.
FAQ’s
1. Can I make hard candy without a thermometer?
It is possible, but a thermometer gives the best results and consistency.
2. Why did my candy turn cloudy?
Cloudiness usually comes from stirring during boiling or moisture in the air.
3. How long does hard candy last?
Stored properly, it can last several weeks.
4. Can I double the recipe?
Yes, just make sure your pan is large enough.
5. Is hard candy gluten free?
Yes, this recipe is naturally gluten free.
6. Can kids help make this recipe?
They can help with safe steps, but adults should handle hot sugar.
7. Why is my candy sticky?
Humidity or undercooking can cause stickiness.
8. Can I use natural coloring?
Yes, but colors may be softer.
9. What flavors work best?
Fruit and mint flavors are classic favorites.
10. Can I reheat hardened candy?
Yes, gently reheat if needed to reshape.
Conclusion
Making hard candy at home is one of those kitchen experiences that feels special every time. It is simple, fun, and incredibly rewarding, and let me tell you, it’s worth every bite. Once you try it, you may find yourself making it again and again.
Print
Hard Candy Recipe
- Prep Time: 10 minutes
- Cook Time: 20 minutes
- Total Time: 30 minutes
- Yield: 20 pieces 1x
- Category: Candy
- Method: Stovetop
- Cuisine: American
- Diet: Gluten Free
Description
Classic homemade hard candy that is glossy, crisp, and full of bright flavor. This easy recipe turns simple pantry ingredients into beautiful, jewel-like candy pieces perfect for gifting or enjoying anytime.
Ingredients
- 2 cups granulated sugar
- 3/4 cup light corn syrup
- 1/2 cup water
- 1 teaspoon flavor extract
- A few drops food coloring
Instructions
- Prepare a baking sheet by lightly greasing it and set it aside.
- In a heavy saucepan, combine granulated sugar, light corn syrup, and water. Stir gently until combined.
- Place the saucepan over medium heat and attach a candy thermometer to the side.
- Allow the mixture to boil without stirring until it reaches 300°F, the hard crack stage.
- Remove the saucepan from heat and carefully stir in the flavor extract and food coloring.
- Immediately pour the hot syrup onto the prepared baking sheet.
- Let the candy cool completely, then break into pieces and serve.
Notes
- Work quickly once the candy reaches temperature.
- Avoid stirring during boiling to prevent crystallization.
- Store candy in an airtight container away from moisture.
Nutrition
- Serving Size: 1 piece
- Calories: 70
- Sugar: 18g
- Sodium: 5mg
- Fat: 0g
- Saturated Fat: 0g
- Unsaturated Fat: 0g
- Trans Fat: 0g
- Carbohydrates: 18g
- Fiber: 0g
- Protein: 0g
- Cholesterol: 0mg
Keywords: hard candy recipe, homemade hard candy, old fashioned candy, sugar candy