Chicken & Garlic Kievs
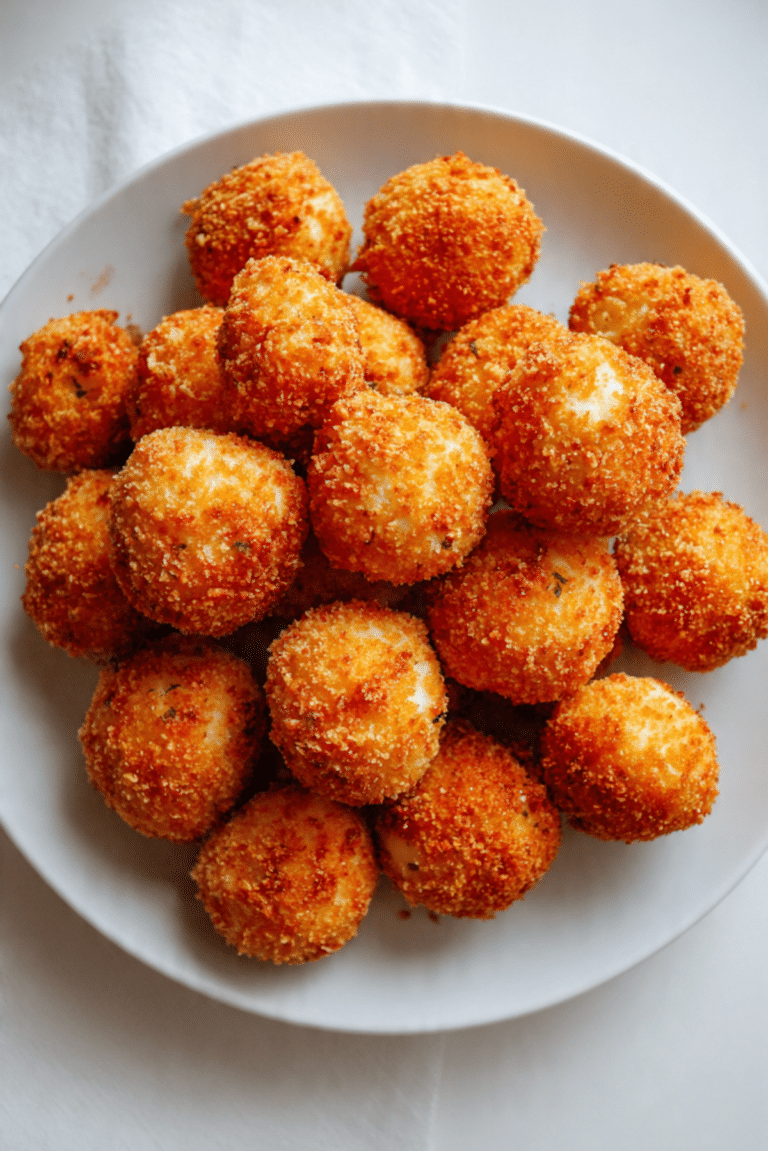
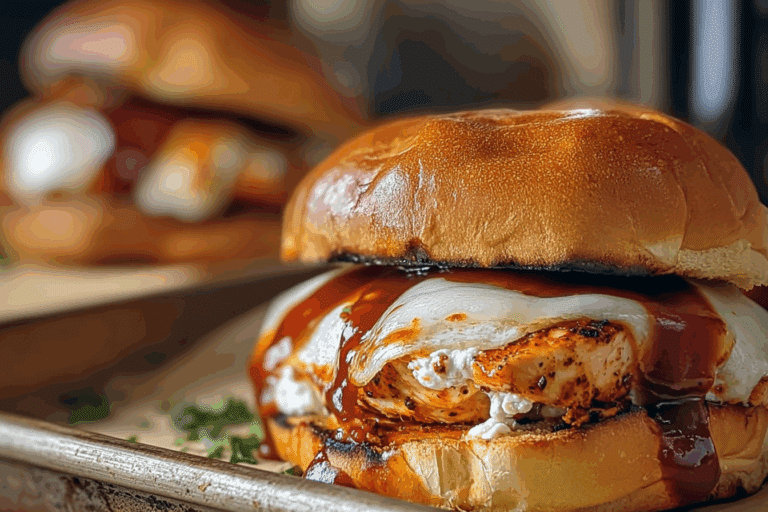
Crispy on the outside, buttery and garlicky on the inside, Chicken & Garlic Kievs are one of those dishes that feel like a warm hug from the kitchen. The first time you cut into one, that golden crust gives way to a flood of fragrant garlic butter that melts into the tender chicken, and it’s pure comfort on a plate. This recipe captures that magic, making every bite rich, savory, and deeply satisfying.
Behind the Recipe
Growing up, Chicken Kiev night was always special. The sound of sizzling chicken filling the kitchen, the smell of garlic butter wafting through the air—it was a ritual of anticipation. My family would gather around, waiting for that first cut when the butter would spill out like golden lava. Recreating that nostalgic flavor is what inspired this recipe, keeping the same comforting tradition but with a touch of modern simplicity.
Recipe Origin or Trivia
Chicken Kiev has roots that stretch across borders. Though many associate it with Russian cuisine, it actually gained international fame through Ukrainian and French culinary traditions. The technique of stuffing meat with flavored butter and then breading it is a classic French method called “côtelette de volaille.” Over time, it evolved into what we now call Chicken Kiev, beloved for its crisp exterior and molten center.
Why You’ll Love Chicken & Garlic Kievs
There are so many reasons to fall in love with this dish, but here are the highlights:
Versatile: Whether it’s a family dinner, a date night, or a weekend treat, this dish fits the occasion perfectly.
Budget-Friendly: Simple ingredients come together to create something luxurious.
Quick and Easy: With a few tricks, you’ll have restaurant-style Chicken Kievs without the fuss.
Customizable: You can swap herbs or add cheese to make it your own.
Crowd-Pleasing: Everyone loves that crispy outside and buttery surprise inside.
Make-Ahead Friendly: Prep the chicken ahead, freeze, and fry when ready.
Great for Leftovers: Slice them up and toss into salads or sandwiches the next day.
Chef’s Pro Tips for Perfect Results
Getting that ideal texture and flavor is all in the details.
- Use cold butter so it stays firm inside the chicken as it cooks.
- Make sure to seal the chicken tightly to prevent butter leakage.
- Double-coat your chicken in breadcrumbs for extra crunch.
- Rest the cooked Kievs for a few minutes before cutting—this keeps the butter from escaping too soon.
- Fry gently in oil at medium heat for even browning and crispness.
Kitchen Tools You’ll Need
You won’t need much, just the essentials:
- Meat mallet: For flattening the chicken evenly.
- Mixing bowl: To prepare the garlic butter.
- Tongs: For safe flipping while frying.
- Skillet or deep pan: To achieve that perfect golden crust.
- Baking tray: To finish cooking evenly in the oven if needed.
Ingredients in Chicken & Garlic Kievs
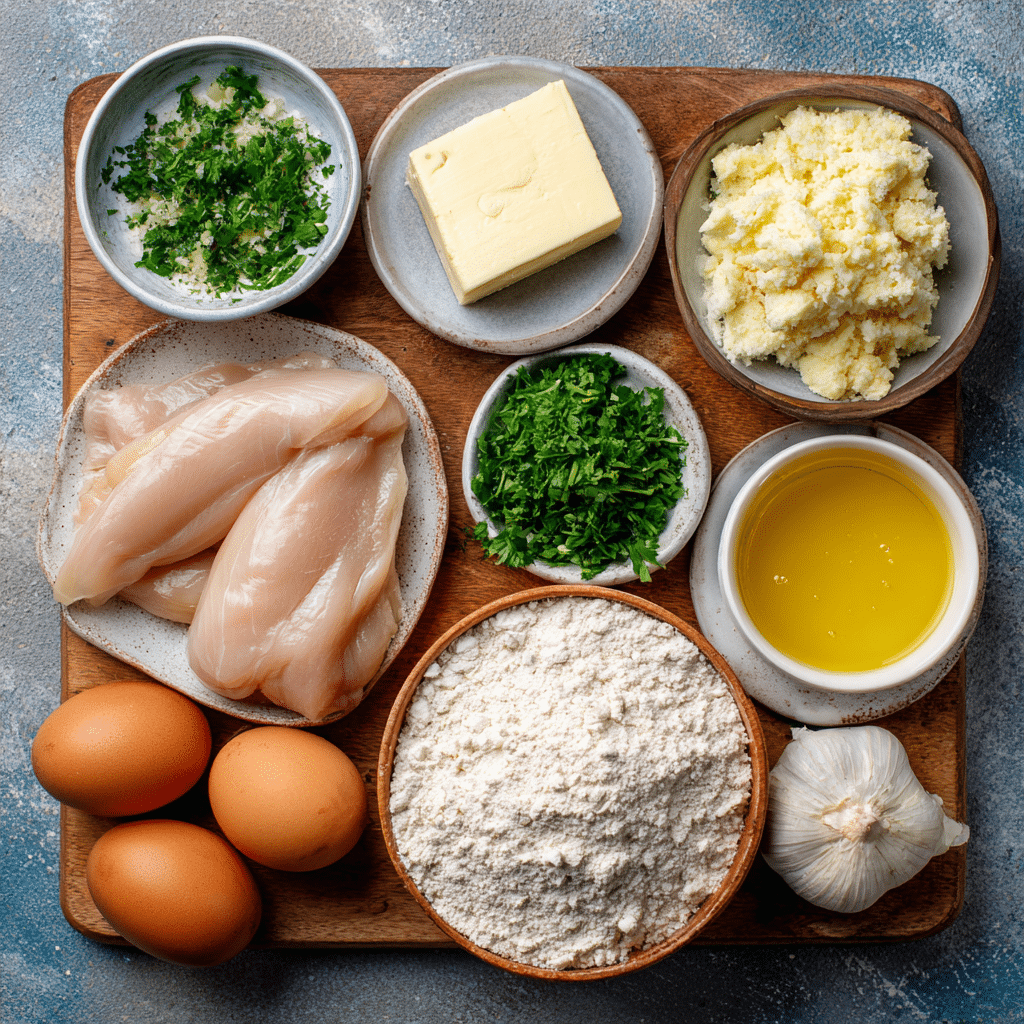
To bring this comforting classic to life, here’s what you’ll need:
- Chicken breasts: 4 boneless, skinless, pounded thin for easy rolling and even cooking.
- Butter: 100 grams, unsalted, softened to mix with garlic and herbs for the filling.
- Garlic: 3 cloves, finely minced to infuse deep flavor into the butter.
- Fresh parsley: 2 tablespoons, chopped to add freshness to the butter.
- Salt and pepper: To taste, for balanced seasoning.
- All-purpose flour: ½ cup, for dredging and ensuring a crispy coating.
- Eggs: 2, beaten to help the breadcrumbs stick.
- Breadcrumbs: 1 cup, preferably panko for a lighter, crispier crust.
- Oil for frying: Enough to shallow fry the Kievs until golden.
Ingredient Substitutions
Sometimes you just need to work with what’s in the pantry.
- Butter: Can be replaced with a mix of olive oil and a touch of cream cheese for a lighter option.
- Parsley: Try dill or chives for a twist in flavor.
- Breadcrumbs: Crushed cornflakes or gluten-free crumbs work beautifully.
- Chicken breasts: Turkey or plant-based cutlets can substitute for different diets.
Ingredient Spotlight
Garlic: The star of the show, garlic transforms the butter filling into a bold, aromatic heart that defines the whole dish.
Parsley: This humble herb cuts through the richness of butter and adds a bright, fresh contrast that keeps every bite balanced.
Instructions for Making Chicken & Garlic Kievs
Cooking Chicken Kiev is like a little culinary adventure, and each step brings you closer to that buttery moment of bliss. Here are the steps you’ll follow:
- Preheat Your Equipment:
Warm your oven to 375°F (190°C) and prepare a plate lined with paper towels for resting. - Combine Ingredients:
In a bowl, mix softened butter, minced garlic, chopped parsley, salt, and pepper. Shape into a log and freeze for about 15 minutes to firm up. - Prepare Your Cooking Vessel:
Set up three bowls—one with flour, one with beaten eggs, and one with breadcrumbs. - Assemble the Dish:
Flatten the chicken breasts and place a slice of firm garlic butter in the center. Roll tightly, tucking the sides to seal. Dredge each roll in flour, dip in egg, and coat with breadcrumbs. - Cook to Perfection:
Heat oil in a skillet over medium heat and fry the chicken for 3–4 minutes per side until golden. Transfer to the oven and bake for 10 minutes to finish cooking through. - Finishing Touches:
Let the Kievs rest for 5 minutes before serving so the butter sets slightly inside. - Serve and Enjoy:
Slice gently and watch that rich garlic butter flow out. Serve hot with a side of mashed potatoes or steamed vegetables.
Texture & Flavor Secrets
Each bite should be a beautiful contrast—crisp and crunchy coating outside, juicy chicken within, and the molten garlic butter tying everything together with its creamy richness. That balance of textures is what makes Chicken Kiev so unforgettable.
Cooking Tips & Tricks
A few handy reminders before you get started:
- Use chilled butter to prevent leakage.
- Always seal the chicken completely.
- Don’t overcrowd the pan—give them room to crisp up properly.
What to Avoid
Even seasoned cooks can make a few slip-ups. Here’s how to steer clear:
- Avoid overcooking, which can dry out the chicken.
- Don’t skip the chilling step for butter—it’s essential.
- Avoid frying at too high a heat, which can burn the coating.
Nutrition Facts
Servings: 4
Calories per serving: 480
Note: These are approximate values.
Preparation Time
Prep Time: 20 minutes
Cook Time: 20 minutes
Total Time: 40 minutes
Make-Ahead and Storage Tips
You can prepare the chicken rolls up to a day in advance and refrigerate them. For longer storage, freeze the uncooked Kievs individually wrapped. To reheat, bake from frozen at 375°F until fully hot and crispy again.
How to Serve Chicken & Garlic Kievs
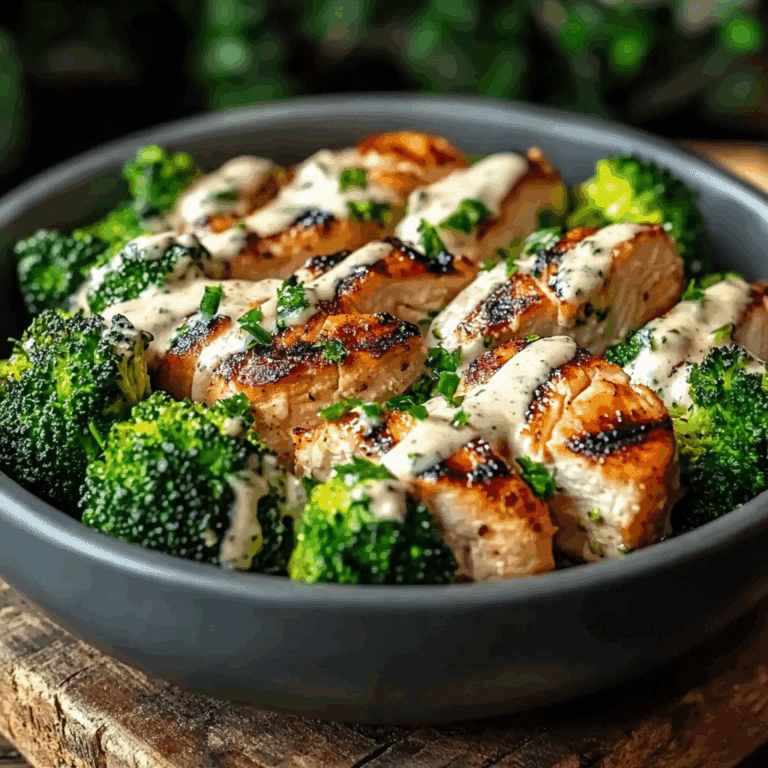
This dish shines alongside creamy mashed potatoes, roasted vegetables, or a crisp green salad. A wedge of lemon on the side adds just the right zing to balance the richness.
Creative Leftover Transformations
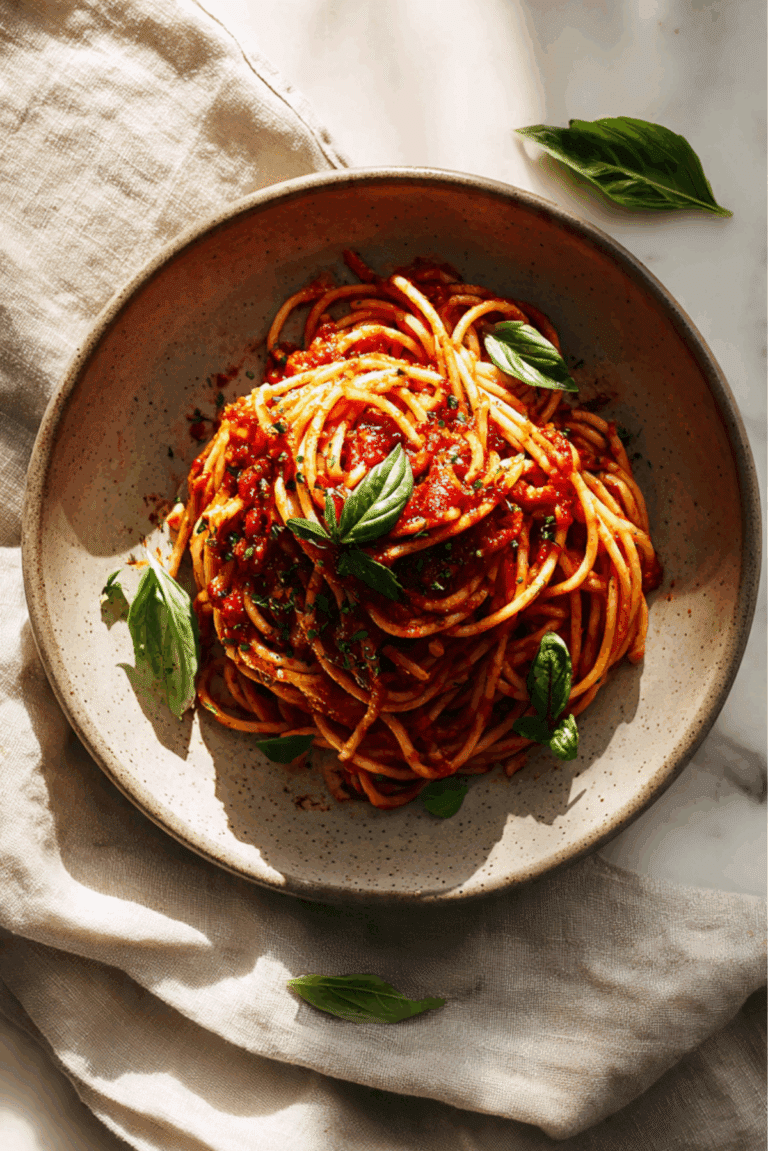
Slice leftover Kievs into strips and toss into pasta with a light cream sauce or serve them cold over a hearty salad for lunch. They even make delicious sandwich fillings the next day.
Additional Tips
To keep things easy, you can make a batch of garlic butter in advance and freeze portions. It’s a great flavor booster for veggies, bread, or even seafood.
Make It a Showstopper
For a stunning presentation, slice the Kievs in half diagonally to reveal the oozing butter inside. Garnish with fresh parsley and serve on a white plate for that restaurant-quality look.
Variations to Try
- Cheese-Stuffed Kiev: Add shredded mozzarella inside for an extra creamy surprise.
- Herb Lovers’ Kiev: Mix in thyme, rosemary, and chives for a garden-fresh twist.
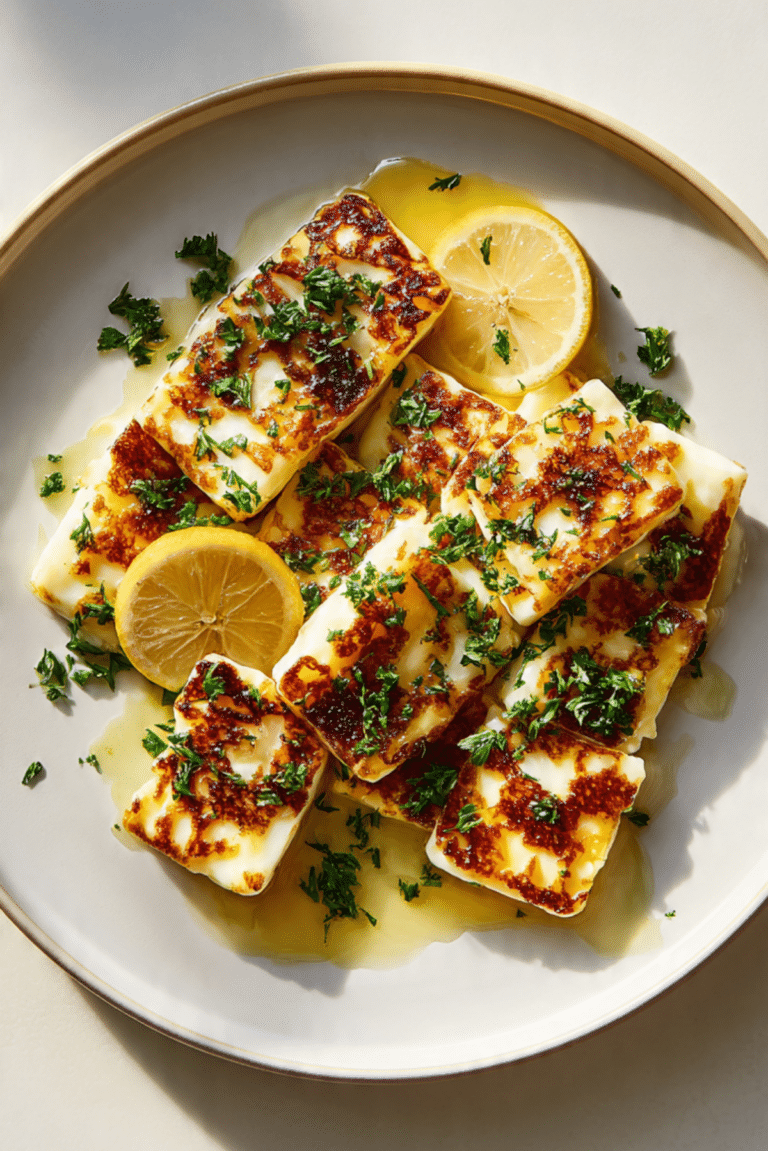
- Lemon Butter Kiev: Add lemon zest to the butter for a bright, tangy flavor.
- Spicy Kiev: Stir a little chili flakes into the butter for a gentle kick.
- Vegetarian Kiev: Try using thick tofu slices filled with garlic-herb butter for a meat-free option.
FAQ’s
Q1: Can I bake Chicken Kiev instead of frying?
Yes, baking works too. Brush lightly with oil and bake at 400°F for about 25 minutes until golden.
Q2: How do I prevent the butter from leaking out?
Seal the edges well and chill the rolls before cooking.
Q3: Can I use garlic powder instead of fresh garlic?
You can, but fresh garlic gives the best aroma and depth.
Q4: What’s the best oil for frying?
Use a neutral oil like sunflower or canola for clean, crisp results.
Q5: How do I know when it’s fully cooked?
The internal temperature should reach 165°F (74°C).
Q6: Can I freeze cooked Chicken Kievs?
Yes, but reheat them in the oven so they stay crispy.
Q7: Why is my coating soggy?
It’s likely from crowding the pan or using too little oil.
Q8: Can I make mini versions for parties?
Absolutely, just use smaller chicken pieces and reduce the cooking time.
Q9: What side dishes go best with Chicken Kiev?
Mashed potatoes, buttered peas, or a crisp salad are all fantastic.
Q10: Is this recipe kid-friendly?
Completely. The flavors are mild and comforting, perfect for all ages.
Conclusion
Chicken & Garlic Kievs are a timeless comfort dish that never goes out of style. Crispy, juicy, and bursting with flavor, they bring a touch of old-fashioned home cooking with every bite. Trust me, this one’s a total game-changer. Once you make it, it’ll become a staple in your kitchen too.
Print
Chicken & Garlic Kievs
- Prep Time: 20 minutes
- Cook Time: 20 minutes
- Total Time: 40 minutes
- Yield: 4 servings 1x
- Category: Main Course
- Method: Frying and Baking
- Cuisine: European
- Diet: Halal
Description
Golden and crispy on the outside, juicy and garlicky on the inside, these Chicken & Garlic Kievs are the ultimate comfort food classic. Perfect for family dinners or special occasions, each bite bursts with rich, buttery flavor.
Ingredients
- 4 boneless, skinless chicken breasts, pounded thin
- 100g unsalted butter, softened
- 3 cloves garlic, finely minced
- 2 tbsp fresh parsley, chopped
- Salt and pepper, to taste
- 1/2 cup all-purpose flour
- 2 eggs, beaten
- 1 cup breadcrumbs (panko preferred)
- Oil for frying
Instructions
- Preheat oven to 375°F (190°C) and prepare a resting plate with paper towels.
- In a bowl, mix softened butter, minced garlic, parsley, salt, and pepper. Shape into a log and freeze for 15 minutes to firm up.
- Set up three bowls: one with flour, one with beaten eggs, and one with breadcrumbs.
- Flatten the chicken breasts and place a slice of firm garlic butter in the center. Roll tightly and seal the sides.
- Dredge each roll in flour, dip in egg, and coat with breadcrumbs.
- Heat oil in a skillet over medium heat and fry each Kiev for 3–4 minutes per side until golden.
- Transfer to oven and bake for 10 minutes until fully cooked through.
- Rest for 5 minutes before serving and enjoy hot.
Notes
- Use cold butter to prevent leakage during cooking.
- Double coat the chicken for extra crunch.
- Let Kievs rest before cutting to keep the butter inside.
Nutrition
- Serving Size: 1 piece
- Calories: 480
- Sugar: 1g
- Sodium: 410mg
- Fat: 28g
- Saturated Fat: 12g
- Unsaturated Fat: 14g
- Trans Fat: 0g
- Carbohydrates: 18g
- Fiber: 1g
- Protein: 40g
- Cholesterol: 155mg
Keywords: Chicken Kiev, garlic butter chicken, crispy chicken, comfort food, European cuisine