Cheesy Shine Japanese Biscuits
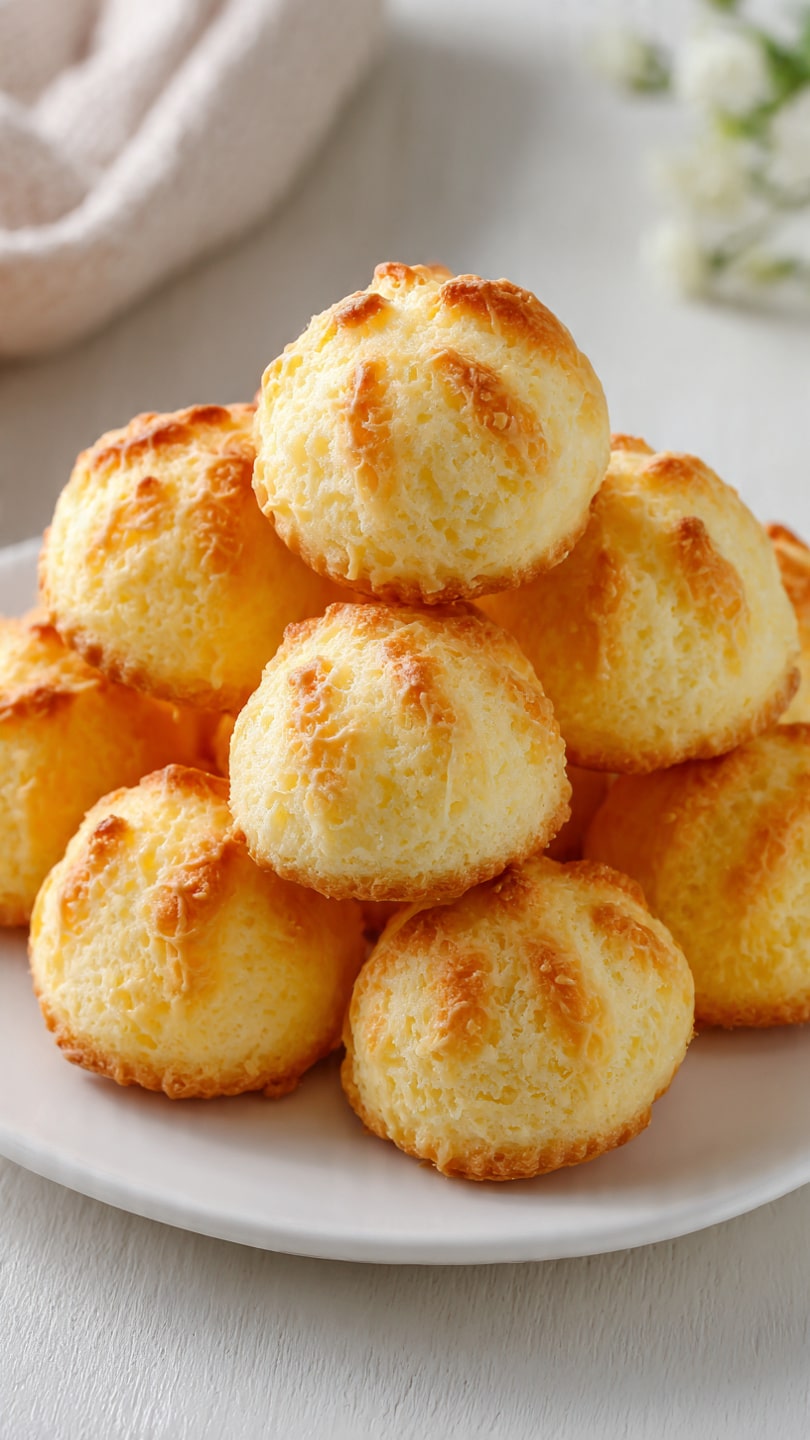
There is something incredibly comforting about pulling a tray of golden, cheesy biscuits from the oven. The kitchen fills with that warm, savory aroma, and the tops glisten ever so slightly, almost like they are winking at you. These Cheesy Shine Japanese Biscuits are soft on the inside, lightly crisp on the edges, and packed with rich, cheesy flavor. Trust me, you are going to love this. The first bite is tender and buttery, with a gentle stretch from the melted cheese that makes it worth every single bite.
Why These Buttery, Cheesy Bites Steal the Spotlight
When you want something savory yet comforting, these little biscuits answer the call. They are not overly complicated, yet they feel special. The texture is soft and fluffy in the center, with a delicate golden crust that gives just enough contrast. That glossy finish on top is what makes them truly stand out. It gives them that bakery style look, like something you would spot behind a glass display and instantly crave.
And now, let’s take a little journey into where this style of biscuit finds its roots.
A Glimpse Into Japanese Baking Inspiration
Japanese baking often focuses on balance and texture. You will notice that many baked goods from Japan lean toward soft, airy interiors with gentle sweetness or subtle savory notes. These biscuits follow that philosophy. They are rich but not heavy, flavorful but not overwhelming. The shine on top is inspired by the careful finishing touches that are so common in Japanese bakeries, where appearance matters just as much as taste.
It is this attention to detail that makes them feel refined, even though they are simple to prepare at home.
Why This Recipe Is a Keeper in Every Kitchen
Before we dive into the process, let me tell you why this one is a total game changer.
Versatile: These biscuits work beautifully as a snack, a breakfast side, or even alongside soups and salads.
Budget-Friendly: The ingredients are simple pantry staples plus cheese, which keeps things affordable.
Quick and Easy: You can have them ready in under 30 minutes, start to finish.
Customizable: Swap cheeses or add herbs to match your mood.
Crowd-Pleasing: Kids and adults both reach for seconds, which says a lot.
Make-Ahead Friendly: You can prepare the dough in advance and bake when needed.
Great for Leftovers: They reheat wonderfully and stay soft inside.
And now that you are convinced, let’s talk about how to make them perfectly every time.
Smart Baking Secrets for Perfect Results
A few small details make a big difference here.
- Use cold butter so the biscuits bake up tender and slightly flaky.
- Do not overmix the dough, or the texture may turn dense.
- Grate your own cheese for better melt and flavor.
- Brush the tops gently with egg wash for that signature shine.
- Bake until just golden, not deeply browned, to keep the inside soft.
The Essential Tools You Will Need
Having the right tools makes everything smoother.
Mixing Bowl: Large enough to combine dry and wet ingredients comfortably.
Whisk: Helps evenly distribute baking powder and salt.
Pastry Cutter or Fork: For cutting butter into the flour.
Baking Sheet: A flat, sturdy sheet ensures even baking.
Parchment Paper: Prevents sticking and promotes gentle browning.
Now that your tools are ready, let’s talk ingredients.
Ingredients That Bring These Biscuits to Life
Every ingredient plays its role in creating that soft, cheesy bite.
- All Purpose Flour: 2 cups, forms the base and structure of the biscuits.
- Baking Powder: 1 tablespoon, gives the biscuits their lift and lightness.
- Salt: 1 teaspoon, enhances the savory flavor.
- Unsalted Butter: 1/2 cup cold and cubed, creates tenderness and richness.
- Milk: 3/4 cup, adds moisture and binds the dough.
- Shredded Cheddar Cheese: 1 cup, delivers bold cheesy flavor and melt.
- Egg: 1 large, beaten for brushing on top to create shine.
Easy Ingredient Swaps If Needed
If you need flexibility, here are a few ideas.
Cheddar Cheese: Use mozzarella or a mild Japanese style cheese for a softer flavor.
Milk: Substitute with unsweetened plant based milk if needed.
Butter: Use salted butter and reduce added salt slightly.
Spotlight on the Star Ingredients
Cheddar Cheese: This is where most of the flavor comes from. It melts into little pockets of gooey goodness.
Butter: Cold butter creates those tender layers and helps the edges crisp up beautifully.
And now, let’s finally step into the kitchen together.
Let’s Bake These Cheesy Beauties
This is the fun part, so tie on that apron.
- Preheat Your Equipment: Preheat your oven to 375 F and line a baking sheet with parchment paper.
- Combine Ingredients: In a large bowl, whisk together flour, baking powder, and salt. Cut in the cold butter using a pastry cutter until the mixture resembles coarse crumbs. Stir in the shredded cheese. Add the milk and mix gently until just combined.
- Prepare Your Cooking Vessel: Lightly flour your surface and turn out the dough. Pat it into a 1 inch thick round.
- Assemble the Dish: Cut into small rounds using a biscuit cutter and place them on the prepared baking sheet, slightly spaced apart.
- Cook to Perfection: Bake for 15 to 18 minutes, until the tops are lightly golden.
- Finishing Touches: Brush the tops with beaten egg during the last few minutes of baking for extra shine.
- Serve and Enjoy: Let cool slightly, then serve warm and enjoy that soft, cheesy center.
The Texture and Flavor Story
When you bite in, the outside offers a gentle crispness, while the inside stays soft and airy. The cheese melts into the crumb, creating little savory bursts. The butter gives a rich undertone that lingers just enough to make you reach for another. It is balanced, comforting, and deeply satisfying.
Helpful Tips for Even Better Results
If you want to take them up a notch, keep these in mind.
- Chill the shaped biscuits for 10 minutes before baking for extra lift.
- Use freshly grated cheese for better melt.
- Do not twist the cutter when shaping, press straight down.
Mistakes to Watch Out For
Even simple bakes have a few pitfalls.
- Overworking the dough, which makes the biscuits dense.
- Using warm butter, which affects texture.
- Overbaking, which dries out the center.
Nutritional Snapshot
Servings: 8 biscuits
Calories per serving: 210
Note: These are approximate values.
Time Breakdown for Easy Planning
Prep Time: 10 minutes
Cook Time: 18 minutes
Total Time: 28 minutes
Make Ahead and Storage Guide
You can prepare the dough, shape the biscuits, and refrigerate them for up to 24 hours before baking. Once baked, store leftovers in an airtight container at room temperature for 2 days. For longer storage, freeze them for up to 2 months and reheat in the oven at 300 F until warmed through.
Serving Ideas That Make Them Shine
Serve them warm with a light soup, a fresh salad, or even alongside scrambled eggs. They also pair beautifully with a simple cup of tea. Let me tell you, it is worth every bite.
Reinventing Leftovers in Delicious Ways
Split them and add a slice of cheese for a quick sandwich. Crumble them over a creamy casserole for added texture. Or toast them lightly and spread with butter for a savory breakfast treat.
Extra Tips for Flavor and Freshness
Add a pinch of garlic powder to the dough for a savory twist. Sprinkle a little extra cheese on top before baking for more golden color. Always let them cool slightly so the crumb sets perfectly.
Make Them Look Bakery Worthy
Brush the tops evenly for a glossy finish. Arrange them neatly on a simple plate, and serve while still slightly warm. That soft shine is what makes them look irresistible.
Fun Variations to Try
- Add chopped chives for a fresh herbal note.
- Mix in a bit of grated Parmesan for sharper flavor.
- Stir in a spoon of cream cheese for extra softness.
- Sprinkle sesame seeds on top before baking.
- Add a touch of paprika for gentle warmth.
FAQ’s
Q1: Can I freeze the dough?
Yes, shape the biscuits and freeze them unbaked. Bake directly from frozen and add a few extra minutes.
Q2: Can I use self rising flour?
Yes, but omit the baking powder and reduce salt slightly.
Q3: How do I keep them soft?
Store in an airtight container and avoid overbaking.
Q4: Can I make them smaller?
Absolutely, just reduce baking time slightly.
Q5: What cheese works best?
Cheddar gives bold flavor, but mozzarella offers a milder option.
Q6: Why are my biscuits dense?
Most likely from overmixing the dough.
Q7: Can I add herbs?
Yes, dried or fresh herbs both work well.
Q8: Do they need refrigeration?
Not for the first two days, but refrigerate if storing longer.
Q9: Can I use plant based milk?
Yes, unsweetened varieties work best.
Q10: How do I reheat them?
Warm in the oven at 300 F for a few minutes.
Conclusion
There is something so comforting about baking a batch of these golden, cheesy biscuits at home. They are simple, satisfying, and full of flavor in every bite. This one is a total game changer for snack time or side dishes. Give them a try, share them warm, and enjoy every soft, savory bite.
Print
Cheesy Shine Japanese Biscuits
- Prep Time: 10 minutes
- Cook Time: 18 minutes
- Total Time: 28 minutes
- Yield: 8 biscuits 1x
- Category: Snack
- Method: Baking
- Cuisine: Japanese-inspired
- Diet: Vegetarian
Description
Soft and fluffy Japanese-inspired cheesy biscuits with a golden crust and glossy finish. These savory bites are rich, tender, and perfect as a snack, side dish, or quick breakfast addition.
Ingredients
- 2 cups all purpose flour
- 1 tablespoon baking powder
- 1 teaspoon salt
- 1/2 cup unsalted butter, cold and cubed
- 3/4 cup milk
- 1 cup shredded cheddar cheese
- 1 large egg, beaten (for brushing)
Instructions
- Preheat the oven to 375 F and line a baking sheet with parchment paper.
- In a large bowl, whisk together flour, baking powder, and salt.
- Cut in the cold cubed butter using a pastry cutter or fork until the mixture resembles coarse crumbs.
- Stir in the shredded cheddar cheese.
- Add the milk and mix gently until just combined. Do not overmix.
- Turn the dough onto a lightly floured surface and pat it into a 1 inch thick round.
- Cut into small rounds using a biscuit cutter and place them on the prepared baking sheet slightly spaced apart.
- Brush the tops with beaten egg for shine.
- Bake for 15 to 18 minutes until lightly golden on top.
- Allow to cool slightly before serving warm.
Notes
- Use cold butter for the best tender texture.
- Freshly grated cheese melts better and improves flavor.
- Do not twist the biscuit cutter, press straight down for better rise.
- Chill shaped biscuits for 10 minutes before baking for extra lift.
Nutrition
- Serving Size: 1 biscuit
- Calories: 210
- Sugar: 2g
- Sodium: 320mg
- Fat: 12g
- Saturated Fat: 7g
- Unsaturated Fat: 4g
- Trans Fat: 0g
- Carbohydrates: 20g
- Fiber: 1g
- Protein: 6g
- Cholesterol: 45mg
Keywords: Cheesy Shine Japanese Biscuits, Japanese biscuits, cheesy biscuits, savory biscuits, homemade biscuits