Banana Pudding Cheesecake Cones
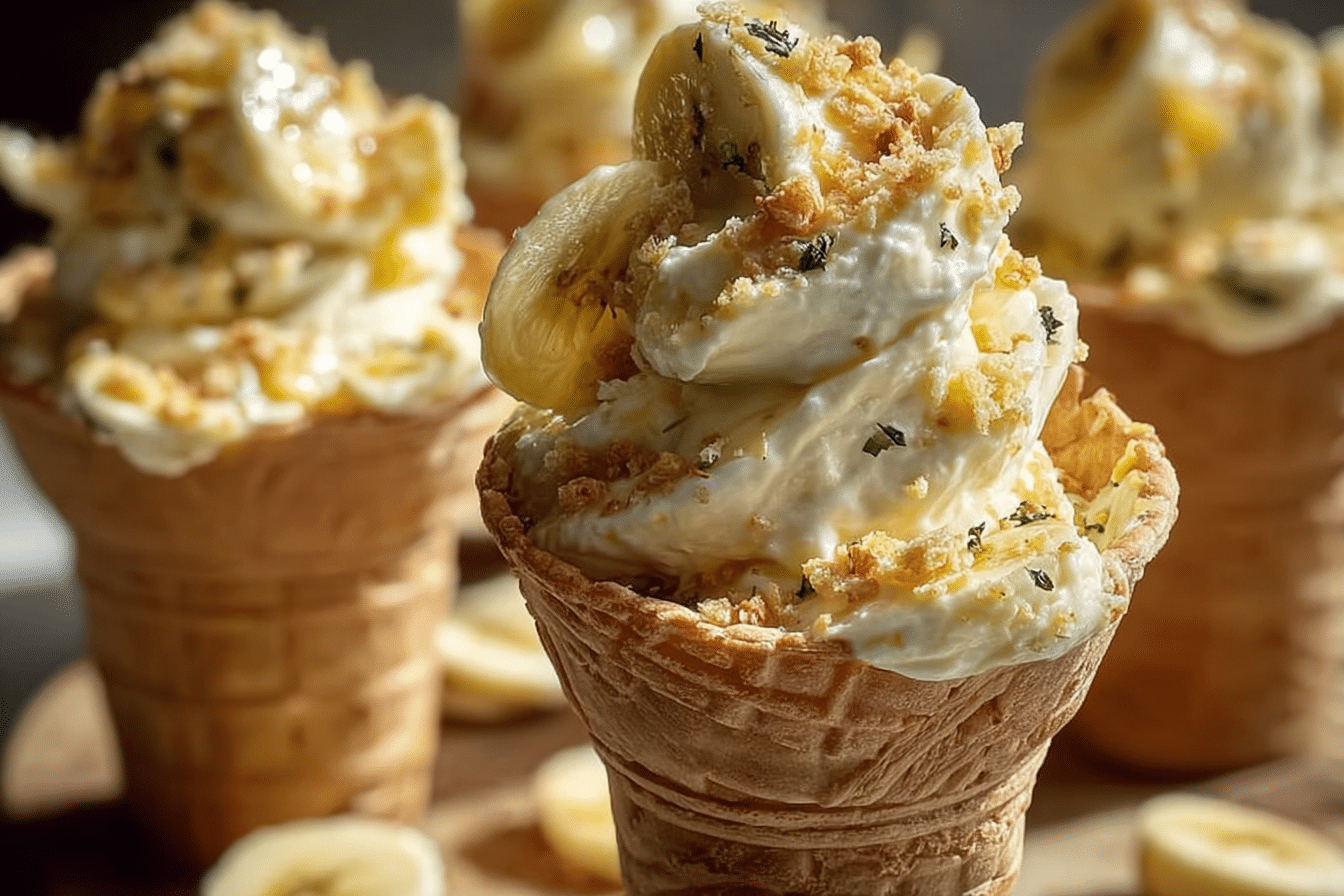
There’s something magical about the first bite of a dessert that blends childhood nostalgia with a touch of gourmet flair. Imagine a golden waffle cone filled with luscious layers of creamy banana pudding, rich cheesecake filling, slices of fresh banana, and a crown of fluffy whipped cream. Each bite is crunchy, velvety, sweet, and comforting all at once. That’s exactly what Banana Pudding Cheesecake Cones bring to the table — a dessert that feels playful yet elegant, perfect for parties or just a little personal indulgence.
Behind the Recipe
This recipe was born out of a craving for two classics at once: banana pudding and cheesecake. I wanted the creamy comfort of banana pudding with the indulgent tang of cheesecake, but presented in a fun, handheld way. That’s when the waffle cone came into play — a playful twist that makes these cones not only delicious but also downright delightful to look at and serve.
Recipe Origin or Trivia
Banana pudding has long been a Southern staple, often layered in a trifle dish with vanilla wafers, pudding, and whipped topping. Cheesecake, on the other hand, dates back to ancient Greece but has become a modern dessert icon. By combining these two timeless desserts in a cone, you get a treat that bridges tradition and creativity. Fun fact: waffle cones were first popularized in the early 1900s at the St. Louis World’s Fair, making this recipe a fusion of culinary history.
Print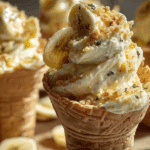
Banana Pudding Cheesecake Cones
- Prep Time: 20 minutes
- Cook Time: 0 minutes (optional 3–4 minutes if crisping cones)
- Total Time: 20–25 minutes
- Yield: 10–12 cones
- Category: Dessert
- Method: No-Bake
- Cuisine: American
- Diet: Vegetarian
Description
Banana Pudding Cheesecake Cones combine the creamy richness of cheesecake with the nostalgic sweetness of banana pudding, all served in a crunchy cone for a fun, portable dessert.
Ingredients
- Cream Cheese: 8 ounces, softened
- Granulated Sugar: 1/2 cup
- Vanilla Extract: 1 teaspoon
- Instant Banana Pudding Mix: 1 package (3.4 ounces)
- Cold Milk: 1 1/2 cups
- Heavy Whipping Cream: 1 cup, whipped
- Sugar Cones or Waffle Cones: 10–12 cones
- Vanilla Wafers: 1 cup, crushed
- Bananas: 2 medium, sliced
- Whipped Cream: for topping
Instructions
- Preheat Your Equipment: If crisping cones, preheat oven to 350°F and bake for 3–4 minutes. Cool completely.
- Combine Ingredients: Beat cream cheese, sugar, and vanilla until smooth. In another bowl, whisk pudding mix with cold milk. Fold in whipped cream.
- Prepare Your Cooking Vessel: Line cones on a baking sheet to keep them steady.
- Assemble the Dish: Pipe cheesecake mixture into cones, layering with banana slices and crushed wafers.
- Cook to Perfection: No cooking needed, just chill for best results.
- Finishing Touches: Top with whipped cream and more crushed wafers.
- Serve and Enjoy: Enjoy immediately or refrigerate for up to 2 hours.
Notes
- Chill cones before filling to prevent sogginess.
- Use ripe but firm bananas for best flavor and texture.
- Assemble close to serving time for maximum crunch.
Nutrition
- Serving Size: 1 cone
- Calories: 280
- Sugar: 20g
- Sodium: 120mg
- Fat: 14g
- Saturated Fat: 8g
- Unsaturated Fat: 5g
- Trans Fat: 0g
- Carbohydrates: 32g
- Fiber: 1g
- Protein: 4g
- Cholesterol: 35mg
Keywords: banana pudding cheesecake cones, banana cheesecake cones, no-bake cheesecake cones, banana pudding dessert
Why You’ll Love Banana Pudding Cheesecake Cones
There are countless reasons to fall in love with this dessert, but here are the biggest ones:
Versatile: Perfect for birthdays, holidays, summer gatherings, or simply a sweet afternoon treat.
Budget-Friendly: Uses simple, affordable ingredients you likely already have in your pantry.
Quick and Easy: No baking needed, just some mixing, layering, and assembling.
Customizable: You can swap toppings, add different fruits, or drizzle sauces to make it your own.
Crowd-Pleasing: These cones are showstoppers at parties, guaranteed to impress both kids and adults.
Make-Ahead Friendly: Fill the cones just before serving, but prepare the pudding and cheesecake layers ahead of time.
Great for Leftovers: If you have extra filling, it works wonderfully layered in jars for banana pudding parfaits.
Chef’s Pro Tips for Perfect Results
Getting the perfect cone is easier than you think if you keep a few tricks in mind:
- Chill your cheesecake mixture before piping for a firmer, creamier texture.
- Brush the inside of your cones with melted white chocolate to prevent sogginess.
- Use ripe but firm bananas so they hold their shape without turning mushy.
- Pipe the fillings with a star tip for a pretty swirl effect.
- Add the bananas and whipped cream just before serving for maximum freshness.
Kitchen Tools You’ll Need
Before you get started, gather these essentials to make the process smooth and enjoyable:
Mixing Bowls: For whisking the pudding and cream cheese mixtures.
Hand Mixer or Stand Mixer: To beat the cream cheese and create a fluffy filling.
Piping Bags: To neatly layer the fillings inside the cones.
Spatula: For scraping down bowls and smoothing mixtures.
Waffle Cones: The edible vessel that makes this dessert fun and handheld.
Ingredients in Banana Pudding Cheesecake Cones
The beauty of this recipe lies in the harmony of its creamy, crunchy, and fruity elements. Here’s what you’ll need:
- Cream Cheese: 8 ounces, softened. Adds the tangy cheesecake base.
- Powdered Sugar: 1 cup. Sweetens the cheesecake layer without grittiness.
- Heavy Whipping Cream: 1 cup, whipped to stiff peaks. Creates a light, airy texture.
- Vanilla Instant Pudding Mix: 1 package (3.4 ounces). Brings that classic banana pudding flavor.
- Cold Milk: 2 cups. Blends with pudding mix to form a creamy base.
- Bananas: 2–3, sliced. Adds fresh fruit sweetness and texture.
- Vanilla Wafers: 1 cup, crushed. Adds crunch and nostalgia.
- Waffle Cones: 8–10. The fun, edible serving vessel.
- Whipped Cream: 1 cup, for topping. Adds a light, creamy finish.
- White Chocolate Chips: 1/2 cup, melted. Used to coat cone interiors to prevent sogginess.
Ingredient Substitutions
Sometimes you might not have everything on hand, so here are a few swaps that work beautifully:
Cream Cheese: Use mascarpone for a milder, creamier flavor.
Vanilla Wafers: Swap with graham crackers or shortbread cookies.
Waffle Cones: Use sugar cones or even mini cups for bite-sized versions.
White Chocolate: Substitute with almond bark or candy melts.
Bananas: Try sliced strawberries or peaches for a fruity twist.
Ingredient Spotlight
Cream Cheese: The heart of the cheesecake filling, it brings a tangy richness that balances the sweetness of pudding and bananas.
Bananas: When perfectly ripe, they infuse natural sweetness and a soft, melt-in-your-mouth texture that makes this dessert irresistible.
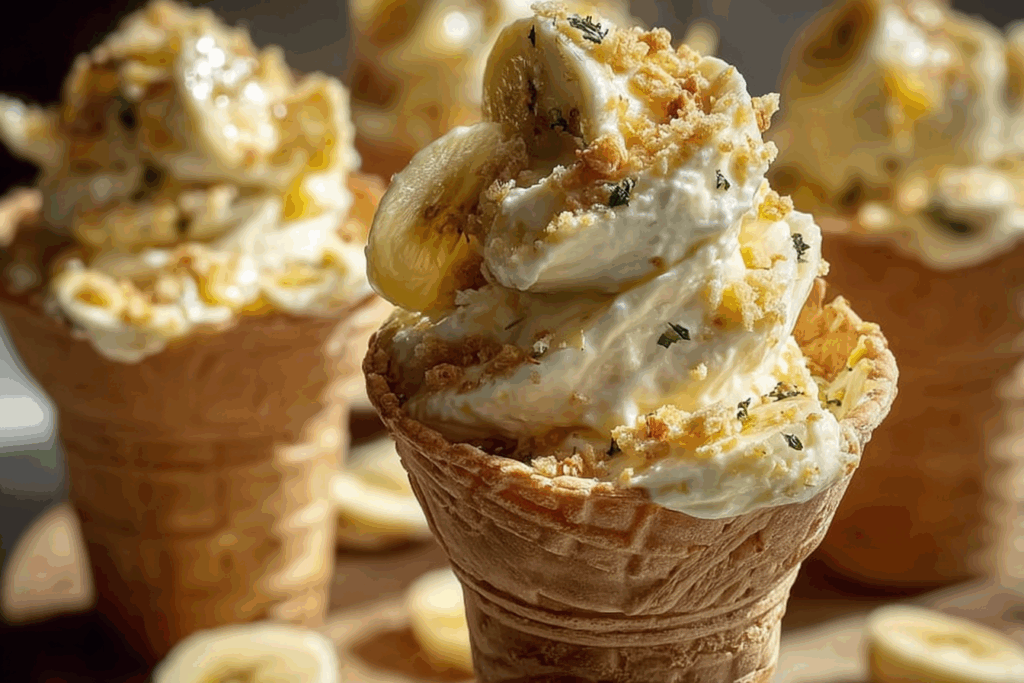
Instructions for Making Banana Pudding Cheesecake Cones
Now comes the fun part: bringing it all together. Follow these steps for flawless cones every time:
- Preheat Your Equipment: No oven needed, but prepare a piping bag and have cones ready.
- Combine Ingredients: Beat cream cheese and powdered sugar until smooth. Fold in whipped cream. Separately, whisk pudding mix with milk until thickened.
- Prepare Your Cooking Vessel: Dip the inside of each waffle cone in melted white chocolate and let it harden to create a barrier against sogginess.
- Assemble the Dish: Layer crushed vanilla wafers, cheesecake filling, pudding, and banana slices inside the cone. Repeat layers as space allows.
- Cook to Perfection: No cooking required, but chill assembled cones for 10 minutes if desired for firmer texture.
- Finishing Touches: Top with whipped cream, banana slices, and a sprinkle of crushed wafers.
- Serve and Enjoy: Present immediately for the freshest taste and best texture.
Texture & Flavor Secrets
What makes these cones truly special is the play of textures. The waffle cone gives a crisp crunch, the cheesecake filling is velvety and tangy, the pudding is silky, the bananas are soft and fruity, and the crushed wafers add that nostalgic crumbly bite. Each layer contrasts the other, making every bite an adventure.
Cooking Tips & Tricks
To help you master these cones, here are a few extra tips:
- Keep cones upright in a tall glass while assembling to prevent spills.
- Make fillings ahead of time and store separately, then assemble just before serving.
- Use a drizzle of caramel or chocolate sauce for added flair.
What to Avoid
Even the best recipes can go wrong without a little care, so watch out for these pitfalls:
- Adding bananas too early, they will brown quickly.
- Skipping the white chocolate barrier, cones may turn soggy.
- Overfilling cones, they’ll collapse under the weight.
Nutrition Facts
Servings: 8–10 cones
Calories per serving: ~320
Note: These are approximate values.
Preparation Time
Prep Time: 20 minutes
Cook Time: 0 minutes
Total Time: 20 minutes
Make-Ahead and Storage Tips
You can prepare the cheesecake filling and pudding up to 2 days in advance and keep them chilled. Assemble the cones just before serving for the best crunch. If you have leftovers, store the fillings separately in airtight containers in the fridge for up to 3 days.
How to Serve Banana Pudding Cheesecake Cones
Serve these cones on a tray lined with parchment paper, or present them upright in a decorative stand for a party. Pair with iced coffee, sweet tea, or a glass of cold milk for the ultimate nostalgic experience.
Creative Leftover Transformations
If you have leftover fillings, don’t let them go to waste:
- Layer them in mason jars for mini banana pudding cheesecakes.
- Use as a filling for crepes or pancakes.
- Spoon into parfait cups with granola for a quick breakfast treat.
Additional Tips
For a boost of flavor, add a splash of vanilla extract to the cheesecake mixture. If you love extra crunch, drizzle the cones with melted chocolate and sprinkle with crushed nuts before filling.
Make It a Showstopper
Want to impress guests? Drizzle caramel sauce over the whipped cream, sprinkle with gold dust or edible glitter, and serve cones on a tiered stand. They’ll look like they came straight from a fancy bakery.
Variations to Try
- Peanut Butter Twist: Add a swirl of peanut butter to the cheesecake filling.
- Chocolate Lovers: Use chocolate pudding instead of banana.
- Tropical Cone: Swap bananas for pineapple and add toasted coconut.
- Mini Versions: Make bite-sized cones with sugar cones for parties.
- Cookie Crunch: Replace vanilla wafers with crushed Oreos.
FAQ’s
1. Can I make these cones the night before?
Yes, but it’s best to keep fillings separate and assemble right before serving to avoid soggy cones.
2. Can I use homemade pudding instead of instant?
Absolutely, homemade pudding adds a richer flavor.
3. How can I keep bananas from browning?
Brush slices lightly with lemon juice or assemble cones just before serving.
4. Can I freeze the cones?
Freezing is not recommended since cones will lose their crunch.
5. Can I make this recipe sugar-free?
Yes, use sugar-free pudding mix and a sugar substitute in the cheesecake filling.
6. What if I don’t have piping bags?
Use a zip-top bag with the corner snipped off.
7. How long does the filling last in the fridge?
Up to 3 days when stored in airtight containers.
8. Can I use flavored cones?
Yes, chocolate-dipped or sprinkle-coated cones add even more fun.
9. Do I need to refrigerate assembled cones?
Yes, if not serving immediately, but no longer than 2 hours.
10. Can I make this gluten-free?
Yes, use gluten-free wafers and cones.
Conclusion
Banana Pudding Cheesecake Cones are everything you want in a dessert — fun, creamy, crunchy, nostalgic, and absolutely irresistible. Whether you’re serving them at a summer gathering, a birthday party, or just treating yourself at home, trust me, you’re going to love this. It’s a total game-changer, and every bite is worth savoring.

